Self-Watering Modular Walls: Transform Your Yard Effortlessly
Many homeowners gaze at a bare wall in their yard and sense an opportunity for vitality. Such surfaces often appear stark and uninviting, yet they hold potential to host thriving greenery. The challenge lies in balancing aesthetic appeal with practical maintenance, as traditional vertical gardens demand frequent watering and attention.
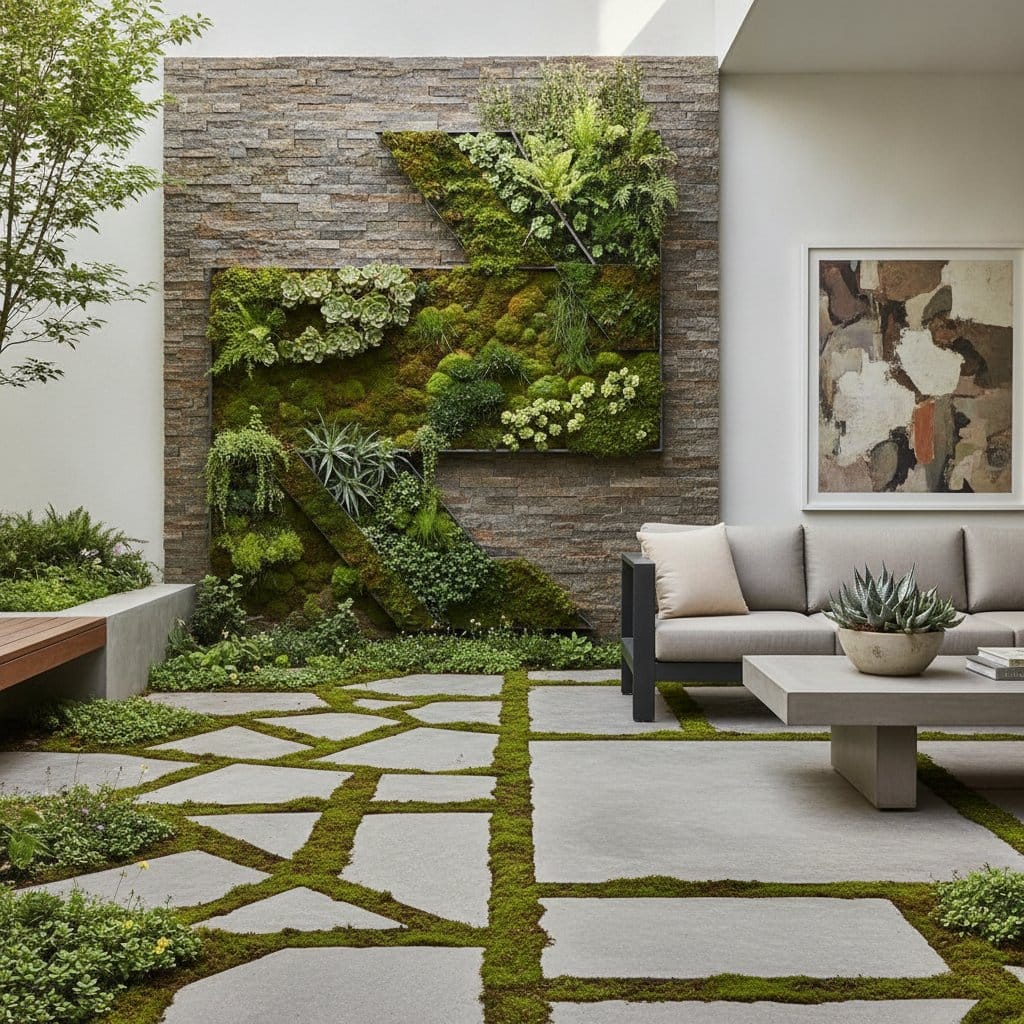
Self-watering modular wall systems address these concerns effectively. These innovative structures integrate irrigation technology with modular panels, allowing plants to flourish with minimal intervention. Homeowners gain a lush vertical feature that enhances outdoor spaces without overwhelming daily routines.
This guide outlines the process to install and maintain such a system, providing clear steps for success.
Understanding Self-Watering Modular Wall Systems
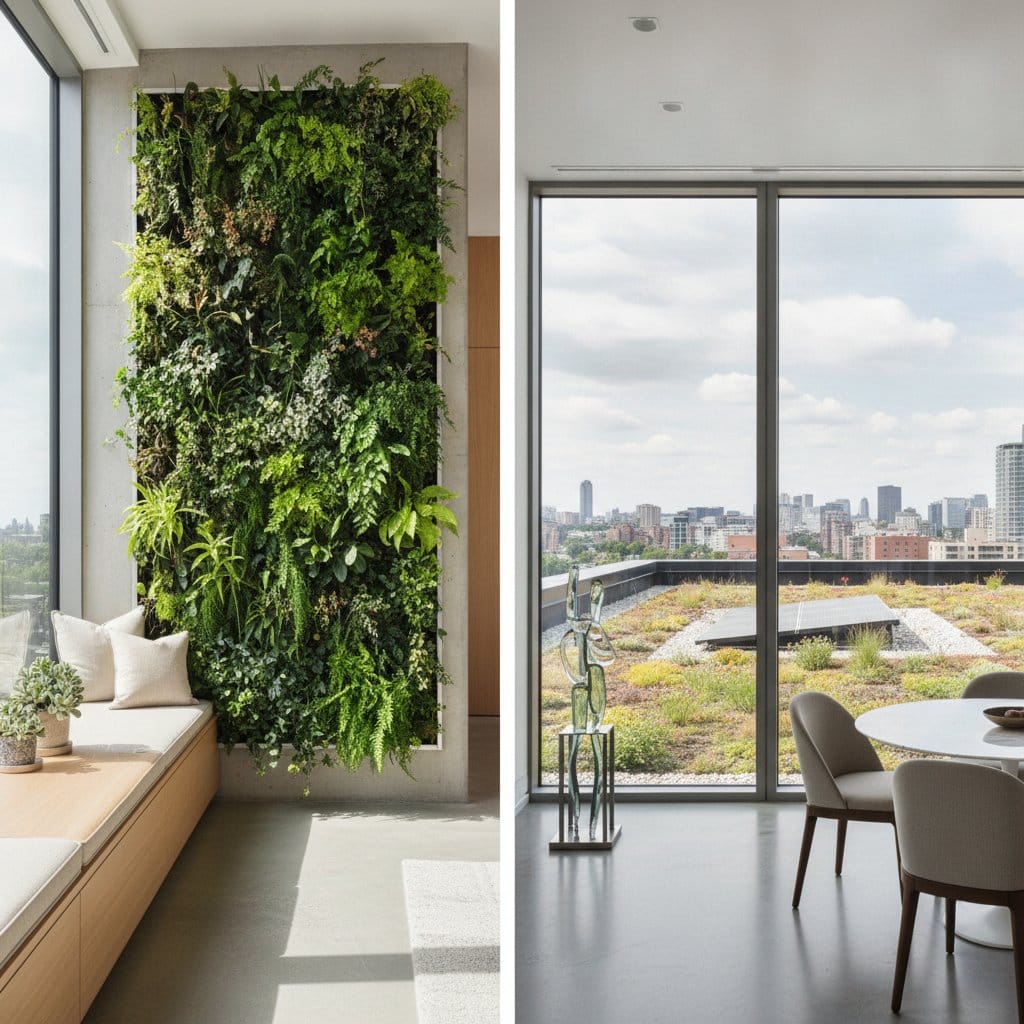
Self-watering modular walls consist of interlocking panels that support soil pockets for plants. Each panel features an internal irrigation mechanism that delivers water precisely where needed. This setup prevents dry spots and reduces the risk of root rot, promoting healthy plant development.
Two primary configurations dominate the market. Reservoir-based systems rely on a bottom tank that supplies water via capillary action or thin tubes, ideal for standalone installations. Integrated drip systems link to an external water source, using emitters to target each module uniformly, which suits larger setups connected to home plumbing.
Modularity allows customization to fit any space. Begin with a single 4-foot by 2-foot panel to test the concept near a patio. As confidence grows, attach additional panels side by side or stacked vertically to form expansive green screens up to 10 feet high.
Installing the System
Installation requires basic tools and follows a logical sequence to ensure stability and efficiency. Select a location with at least six hours of daily sunlight for most plants, though shaded options exist for varied conditions. Budget one to two hours for a small setup, depending on surface preparation.
Follow these steps for a secure installation:
-
Prepare the surface. Clean the wall or fence thoroughly to remove dirt and debris. Verify structural integrity; wood fences should withstand 20 pounds per square foot when loaded, while concrete walls need anchors rated for similar loads. Level the area using a spirit level to prevent panel tilt.
-
Mount the panels securely. Use corrosion-resistant brackets or screws spaced every 12 inches along the frame edges. Maintain 1-inch gaps between panels for air circulation, which discourages mold growth. For freestanding frames, secure to the ground with stakes driven 18 inches deep.
-
Add the planting modules. Insert pockets into the panel slots, ensuring a snug fit. Fill with a pre-mixed substrate containing 40 percent peat, 30 percent perlite, and 30 percent compost for optimal drainage and nutrient retention. Avoid overfilling to allow root expansion.
-
Connect the irrigation. For reservoir systems, fill the base tank with water treated to prevent algae, such as a diluted hydrogen peroxide solution. For drip setups, attach 1/4-inch tubing to a timer-controlled faucet, positioning emitters at the base of each module. Calibrate flow to deliver 0.5 gallons per square foot weekly.
-
Test before planting. Cycle water through the system for 10 minutes, observing for even distribution and leaks. Adjust valves or reposition tubes as necessary to eliminate inconsistencies.
Plant selection enhances longevity. Opt for drought-tolerant species like succulents or ferns in lower modules, reserving trailing ivies or herbs for upper sections. Plant from bottom to top, pressing roots gently into the soil and watering manually once to settle the medium.
Troubleshooting Common Issues
Initial setup may reveal minor hurdles, but prompt corrections maintain system performance. Monitor plants weekly during the first month to identify patterns early.
Address these frequent concerns:
-
Wilting plants: Inspect tubing for kinks or blockages caused by sediment buildup. Flush the lines with a vinegar-water solution (1:10 ratio) to restore flow, then refill the reservoir.
-
Yellowing leaves: Evaluate drainage by lifting a module; soggy soil indicates excess moisture. Incorporate more perlite into the mix or elevate emitters to reduce saturation, targeting soil moisture at 60 percent capacity.
-
Uneven growth: Assess light exposure with a meter app on your phone; aim for 1000 foot-candles minimum. Prune dominant plants by one-third and introduce companions like creeping thyme to fill gaps without competition.
Regular checks prevent escalation. After establishment, issues arise rarely, as the system's design promotes equilibrium.
Creating Connection Through Green Spaces
Beyond practicality, these walls foster deeper engagement with nature. A verdant backdrop evolves with blooming cycles, drawing birds and insects that enrich the ecosystem. This dynamic element softens hardscapes, creating serene zones for relaxation or gatherings.
Homeowners report heightened satisfaction from such features. The minimal input yields visible rewards, reinforcing a sense of stewardship. Families benefit too, as children learn about botany through hands-on involvement in plant selection and monitoring.
Watching Your Garden Thrive
Established walls demand light oversight to sustain vibrancy. Observe daily for subtle shifts, such as new shoots or color variations, which signal health. Intervene only as seasons dictate: increase reservoir fills to twice weekly in summer heat, while winter care involves insulating modules against frost.
Select plants suited to local climates for resilience. Native species like lavender or hostas adapt well, requiring no fertilizers beyond initial compost. This approach ensures the wall endures, providing year-round aesthetic and environmental value.
Ultimately, a self-watering modular wall redefines underutilized spaces as vibrant assets. It delivers lush vertical greenery with streamlined care, inviting creativity in design. Through deliberate installation and attentive nurturing, your yard gains a living dimension that enhances daily life.