Crafting Inviting Outdoor Ambiance with Minimal Light Pollution
Homeowners often step into their gardens at night and sense an imbalance. Stars appear dimmed, and the space lacks depth or enchantment. Outdoor lighting intended to foster warmth frequently results in excessive brightness that overwhelms the surroundings. The solution lies in thoughtful design that illuminates purposefully, preserving the natural night while enhancing the garden's allure.
This approach respects the ecosystem, from nocturnal wildlife to celestial views. By directing light downward and using subtle intensities, gardens transform into serene havens. The following steps guide the process from evaluation to implementation.
Step 1: Evaluate Existing Lighting Setup
Begin with a nighttime inspection of the outdoor area. Walk through the space with all lights off, then activate them individually to observe effects. Identify areas of over-illumination, light spillover onto neighboring properties or the sky, and zones needing softer enhancement.
Consider these key aspects:
- Do fixtures direct beams upward, contributing to sky glow?
- Are walkways or gathering spots excessively bright, causing discomfort?
- Does glare obscure views or create safety hazards?
- Do shadowed areas feel neglected or insecure?
Such assessment reveals opportunities for refinement. For instance, redirecting a single fixture or reducing its output can immediately improve visibility and mood without major alterations.
Step 2: Develop a Strategic Lighting Plan
With insights from the evaluation, sketch a layout that prioritizes function and subtlety. Map essential zones like pathways, patios, and focal points such as sculptures or plant beds. Determine required light levels: pathways need steady guidance, while accents benefit from intermittent highlights.
Incorporate these planning principles:
- Position lights at ground level or below eye height to minimize upward spill.
- Space fixtures evenly to avoid hot spots or dark voids.
- Integrate timers or motion sensors for automatic control, ensuring lights activate only when necessary.
- Align with garden contours, such as curving paths or natural vignettes, to guide movement intuitively.
A well-planned blueprint prevents common pitfalls like uneven coverage. It also allows for scalable changes, starting with high-impact areas before expanding.
Step 3: Select Dark-Sky-Compliant Fixtures
Opt for fixtures engineered to curb light pollution, known as dark-sky compliant. These feature shields or housings that contain light, directing it solely to intended surfaces. Such designs maintain effectiveness while protecting astronomical visibility and wildlife habitats.
Prioritize these characteristics:
- Full cutoff construction: Ensure the light source remains hidden from above or the sides, preventing escape.
- Warm color temperatures: Select bulbs in the 2700K to 3000K range for a soft, amber glow that mimics natural twilight and avoids disrupting animal rhythms.
- Dimmable capabilities: Choose models with adjustable intensity to match occasions, from subtle evenings to brighter gatherings.
- Energy-efficient LEDs: Verify IP65 or higher ratings for weather resistance, and confirm shielding meets International Dark-Sky Association standards.
Testing samples in the garden reveals how focused light restores contrast. Stars reemerge, and foliage gains dimension previously lost to diffuse brightness.
Step 4: Install with Attention to Direction and Layering
Proper installation amplifies fixture benefits. Mount lights to aim downward at a 10- to 30-degree angle, using adjustable brackets for precision. Secure wiring underground or in conduits to maintain aesthetics and safety.
Build layers for dynamic effect:
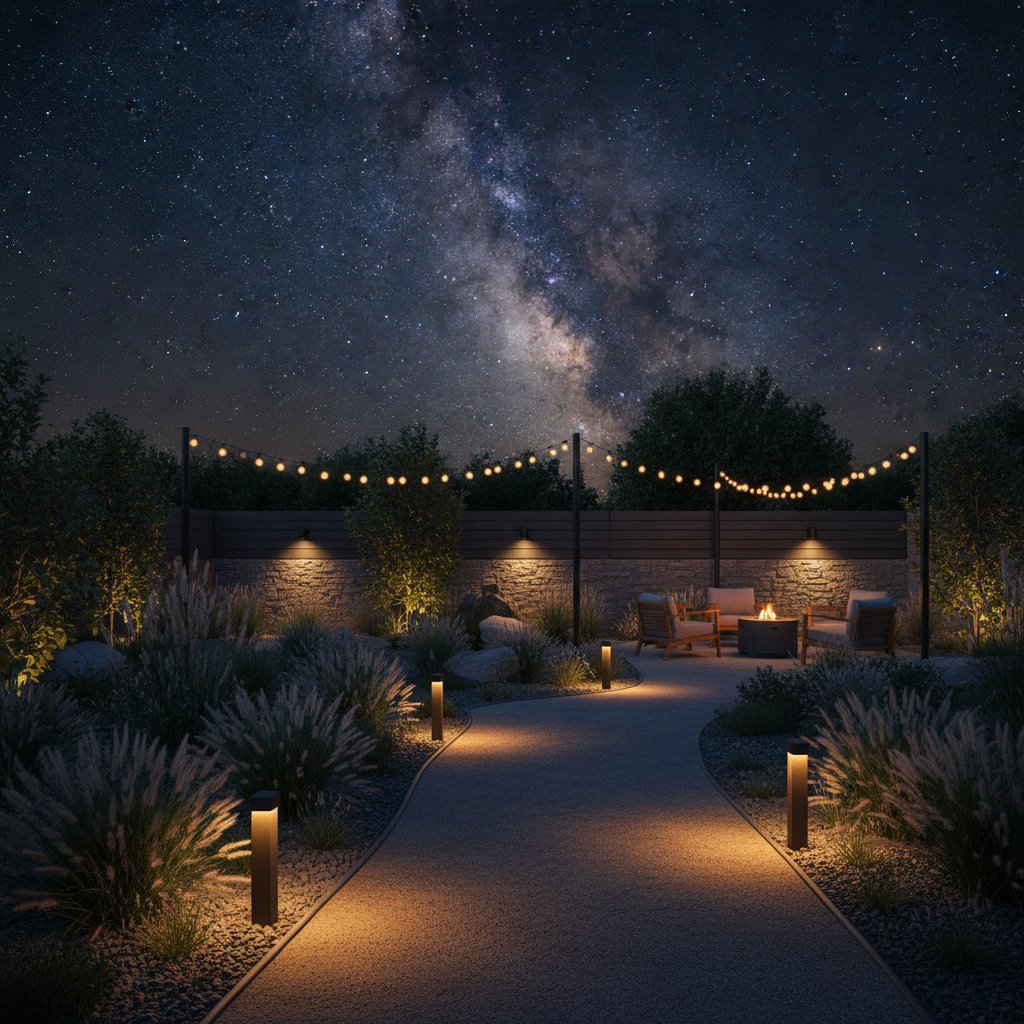
- Base layer: Install low-voltage path lights every 4 to 6 feet, embedded flush with the ground for unobtrusive guidance.
- Accent layer: Use uplights sparingly on vertical elements like trees, with narrow beams to highlight textures without broad spill.
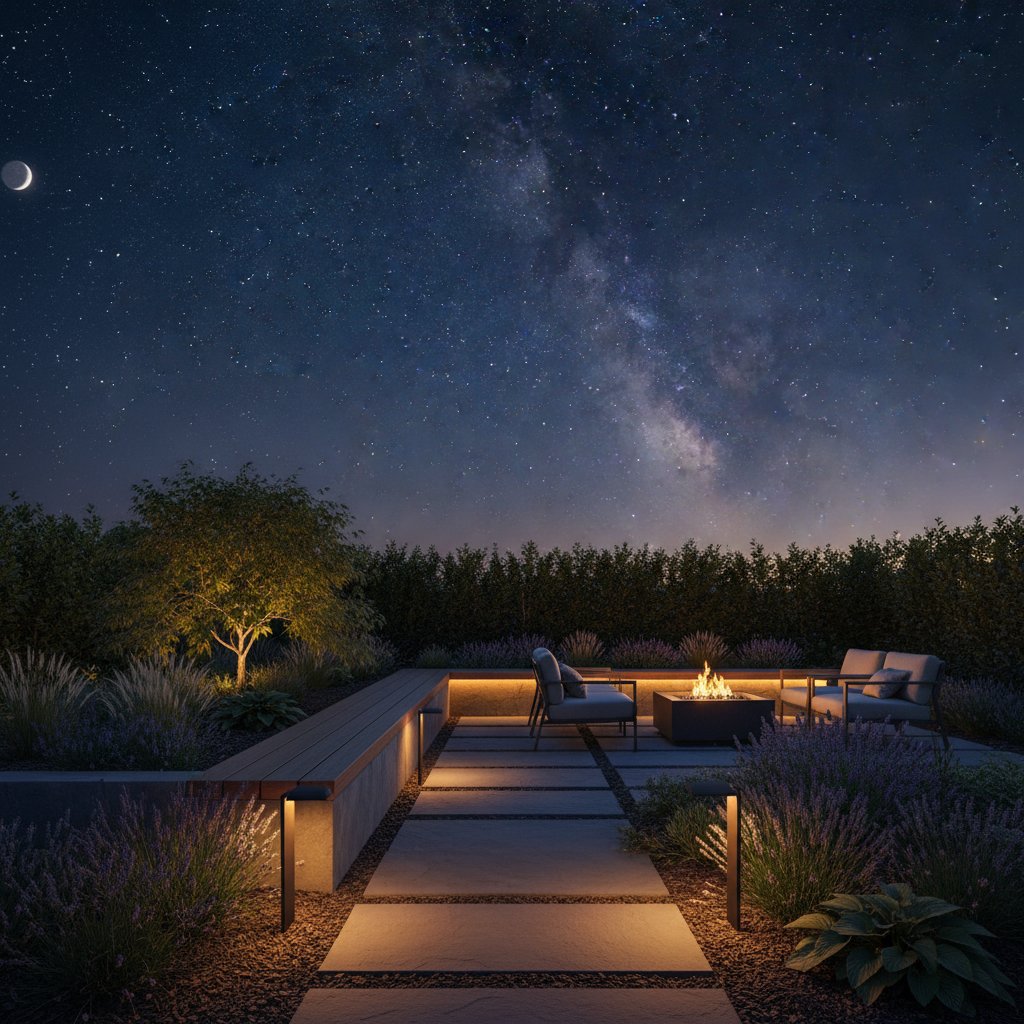
- Ambient layer: Place wall sconces or bollards near seating, dimmed to 20-50% output for conversational warmth.
This stratification mimics natural illumination, fostering depth. Shadows accentuate forms, drawing attention to architectural details or blooming night flowers.
Step 5: Integrate Natural Materials for Enhanced Warmth
Materials play a crucial role in diffusing and reflecting light organically. Select elements that interact harmoniously with illumination to create inviting textures.
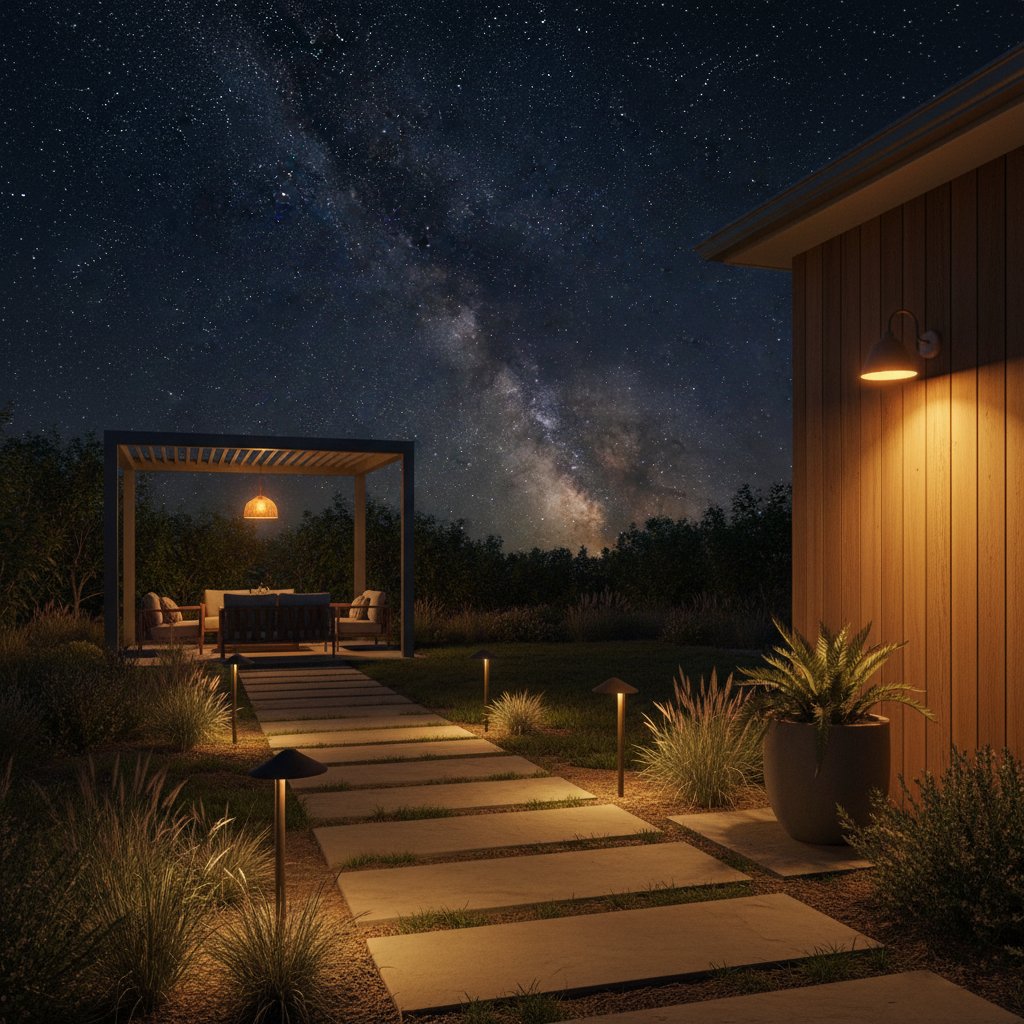
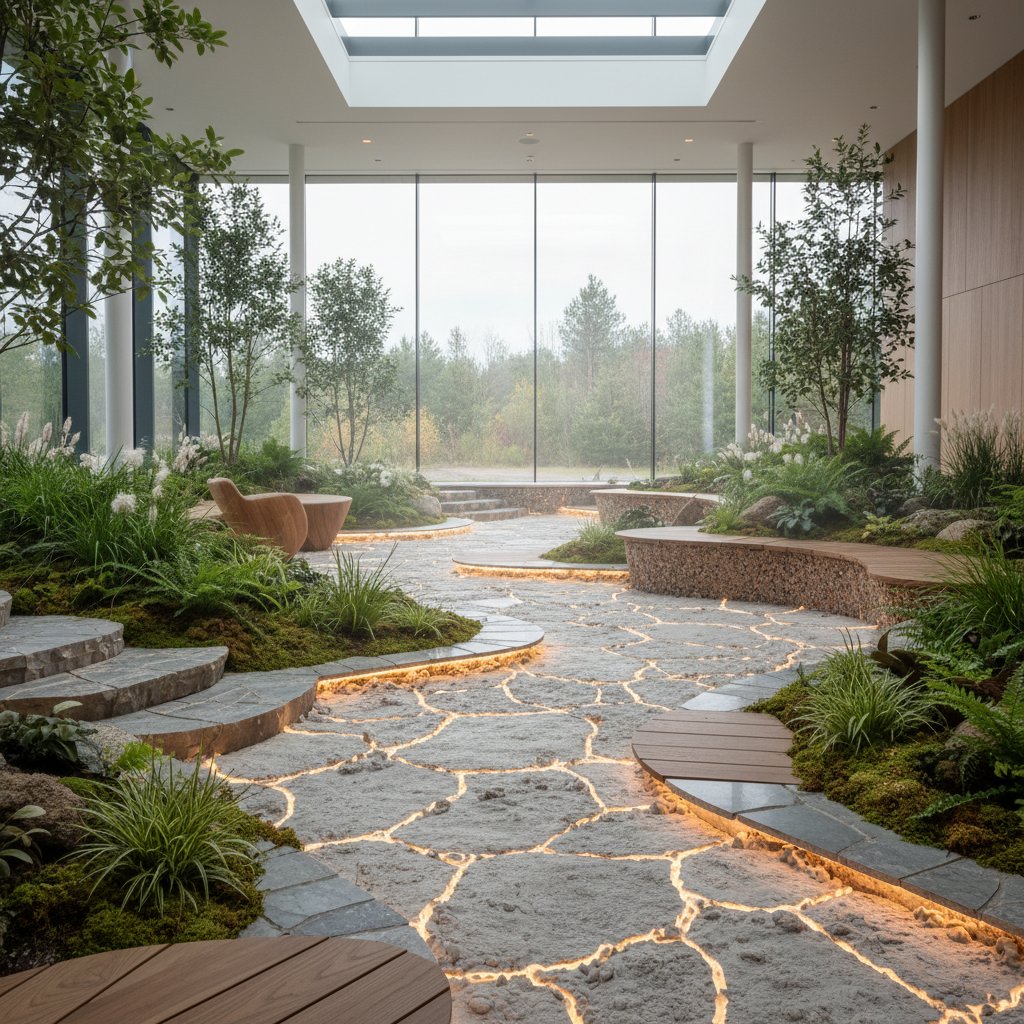
- Stone and gravel paths: These surfaces scatter light softly, providing safe footing with minimal reflection.
- Wooden structures: Pergolas or benches in cedar or teak absorb and emit a golden hue under warm bulbs, evoking coziness.
- Water elements: Fountains or ponds capture and ripple light, adding motion without additional energy draw.
Supplement with low-impact sources like solar-powered stakes or beeswax candles for occasional use. These elements foster emotional connection, turning the garden into a shared sensory experience.
Step 6: Maintain and Refine Over Time
Sustainability requires ongoing attention. Regularly clean fixtures to prevent dust buildup that scatters light inefficiently. Test dimmer settings seasonally, adjusting for longer summer evenings or shorter winter nights.
Monitor wildlife responses: increased bird activity or insect presence signals success. If glare persists in certain spots, add baffles or relocate fixtures. Document changes with before-and-after photos to track progress.
Sustaining a Balanced Nighttime Garden
Thoughtful lighting elevates the garden beyond mere utility, harmonizing human enjoyment with environmental stewardship. Energy savings accumulate through efficient choices, while reduced pollution benefits broader ecosystems.
Implement one adjustment at a time, such as swapping a high-wattage spotlight for a shielded LED. Over months, the cumulative effect yields a space alive with subtle glows and profound shadows. Visitors linger, captivated by the interplay of light and the rediscovered night sky overhead.