Modular Living Walls: Transform Vertical Spaces into Green Havens
Feeling surrounded by concrete and uninspired walls? Modular living walls offer a practical solution for homeowners craving greenery without sacrificing space or time. These innovative vertical garden systems, available through resources like Dickinson Garden Center, allow you to cultivate lush, vibrant surfaces indoors or outdoors. This guide walks you through the essentials of designing, installing, and maintaining a modular green wall tailored to your lifestyle.
Understanding Modular Living Walls
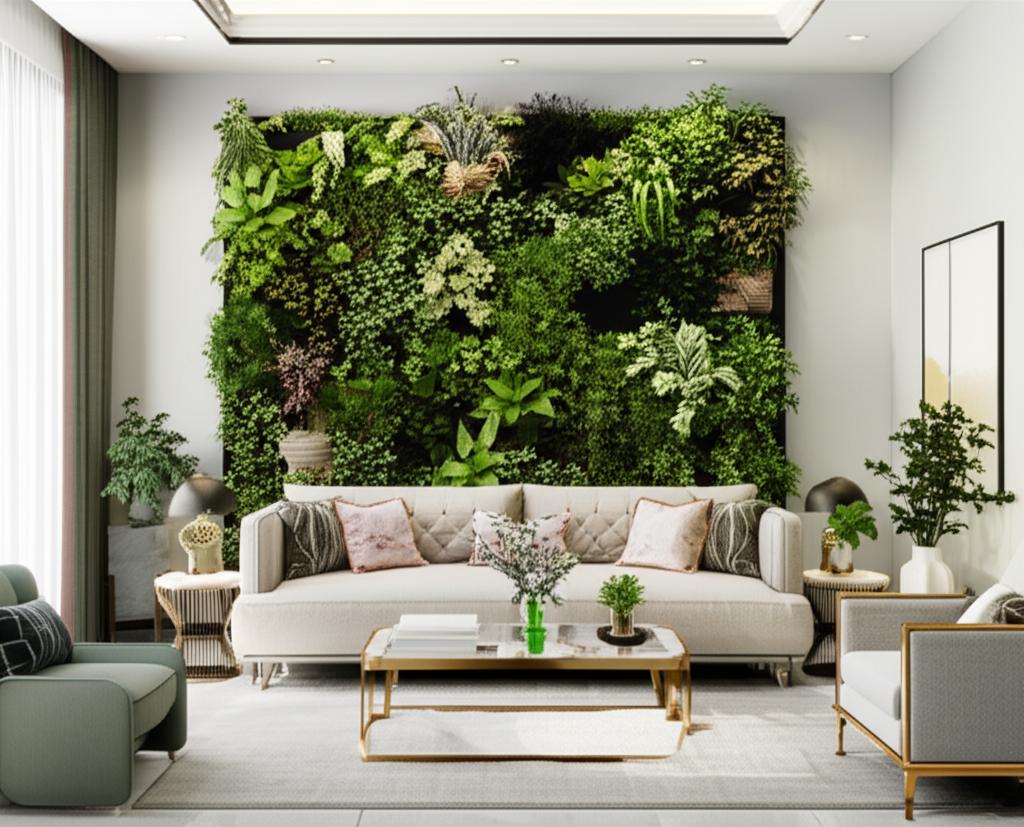
Modular living walls are vertical garden setups composed of individual plant modules that interlock like puzzle pieces. These systems enable you to grow a variety of plants, from herbs and flowers to succulents and small vegetables, on any vertical surface. Their interchangeable design means you can rearrange, replace, or expand sections effortlessly as your needs evolve. Whether transforming a blank kitchen wall or creating an outdoor privacy screen, these walls maximize unused space with style and function.
Benefits of Choosing a Modular System
Modular green walls bring multiple advantages to any home. They save valuable floor space, enhance indoor air quality by filtering pollutants, and add a natural warmth to living areas or building facades. Their flexibility allows customization, whether you want a compact herb garden near your stove or a striking succulent display on a sunny balcony. Select a system that aligns with your aesthetic and practical goals, considering factors like light exposure and maintenance capacity.
Step 1: Evaluate Your Available Space
Before investing in a modular system, assess your chosen location carefully. Measure the wall area, noting any obstacles such as electrical outlets, vents, or windows, and sketch a basic layout to visualize the setup. Observe how light falls on the space throughout the day, identifying if it receives direct sunlight, partial shade, or consistent indoor lighting. Finally, confirm the wall's load-bearing capacity and accessibility, especially for outdoor installations or rental properties, ensuring the lightweight modules can be securely mounted.
Step 2: Select the Right Green Wall Kit
Choosing a suitable kit depends on your space's specific conditions. For outdoor walls, prioritize weather-resistant frames and UV-stable panels to withstand the elements, while indoor setups benefit from mold-resistant backings and breathable substrates. Decide on irrigation options, balancing the convenience of a timed drip system against the hands-on control of manual watering. Ensure proper drainage with built-in catch trays or waterproof barriers to protect walls and prevent root rot, particularly in enclosed spaces.
Step 3: Design with Plant Selection and Layout
Plant choice and arrangement play a critical role in both function and visual appeal. Opt for herbs like basil or thyme near kitchen areas for easy access, ferns or philodendrons in low-light indoor spots, and succulents for sunny, low-care zones. Group plants with similar water and light requirements to streamline care, and combine varying textures and heights for a dynamic look. Leave adequate room for growth, start with healthy nursery plants for quicker adaptation, and limit fast-growing species to avoid overcrowding.
Step 4: Install Your Modular Living Wall
Installation requires methodical preparation to ensure stability and success. Clean the wall surface, apply a moisture barrier if necessary, and mark mounting points according to the kit's instructions. Assemble the modules on the ground first for a test fit, then secure them from the bottom up to maintain balance. Place plants into modules before final mounting to perfect the layout, add substrate, water thoroughly to settle roots, and test any irrigation system for even coverage and leak prevention.
Step 5: Maintain for Long-Term Vitality
Consistent, small-scale care keeps your living wall flourishing. Monitor moisture levels regularly, adjusting watering based on seasonal shifts and using any included sensors or trays for guidance. Prune overgrown sections to preserve airflow and visibility, removing dead leaves promptly to deter pests. Apply a balanced, water-soluble fertilizer on a schedule suited to your plant mix, and inspect weekly for signs of stress, pests, or fungal issues, addressing concerns before they escalate.
Addressing Common Challenges
Even with diligent care, issues may arise in a living wall. Yellowing leaves often signal improper watering or insufficient light, so adjust these factors first. Sparse sections can be revitalized by rotating in new modules or swapping plants for more resilient varieties. For uneven growth, reposition plants to better match light distribution, solving most problems with minor tweaks rather than extensive changes.
Launching Your Green Wall Journey
Begin with a modest project to build confidence, such as a single column of modules in a kitchen or a small outdoor panel by a balcony. Explore the range of green wall kits at Dickinson Garden Center to find a system that suits your space and vision. With a thoughtful plan and regular attention, your modular living wall will evolve into a rewarding feature of your home, offering both beauty and utility. Watch as it grows, bringing fresh herbs, improved acoustics, and a renewed sense of connection to nature.