Modular Living Walls: Self-Watering Greenery That Thrives
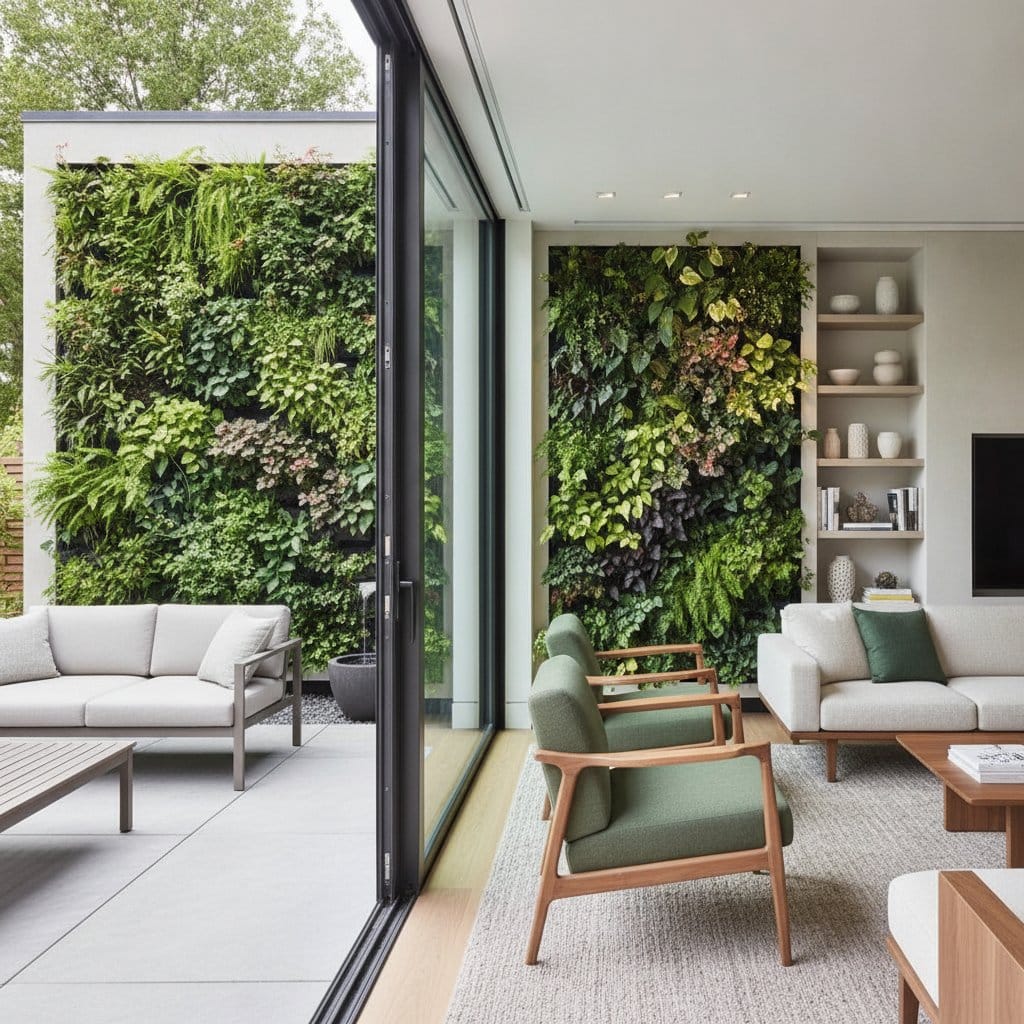
A living wall transforms the atmosphere of a room before visitors notice any individual plant. Plain entryways become calmer, dining areas feel softer, and shaded corners gain vitality once a vertical garden takes shape. The strongest results come from selecting a system that fits the space and providing steady care rather than attempting to fill every inch with foliage.
Modular living walls provide a practical approach to this effect. Individual planting sections connect in a planned arrangement, while built-in irrigation delivers water to each module. This combination simplifies vertical gardening for homeowners who want a substantial display without carrying watering cans up ladders or reaching difficult corners.
Understanding the Modular Approach
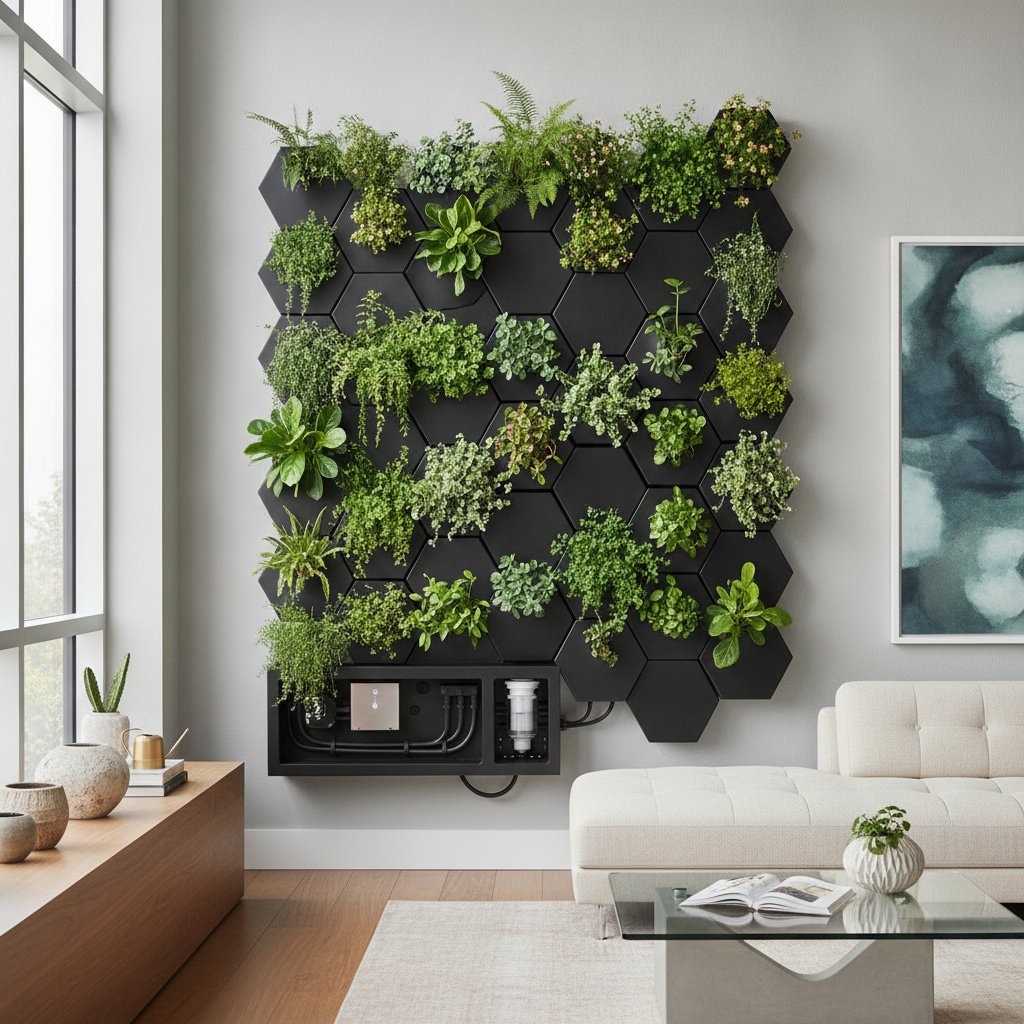
A modular living wall consists of individual planting units that attach to a supporting frame. Each unit holds one plant, several plants, or a small growing pocket. The sections arrange in rows, columns, patterns, or loose groupings according to the design plan.
The modular structure offers several practical advantages. Damaged or tired plants can be replaced without rebuilding the entire wall. The design expands as confidence and budget allow. Plant groups separate according to light and moisture requirements. Individual sections remove for cleaning or seasonal changes. The wall fits narrow indoor areas or broad outdoor surfaces.
This flexibility suits homeowners who prefer to begin with a modest project. A small panel near a kitchen window reveals how much light reaches the wall, how often irrigation runs, and how quickly plants grow. These observations become valuable before a larger installation develops.
How Self-Watering Systems Work
Self-watering does not eliminate the need for attention. The system stores and distributes water in a controlled manner. Most designs include a reservoir, a small pump, tubing, emitters, and a timer. Water moves from the reservoir through the tubing and reaches each planting module at a measured rate. Excess moisture drains back into the reservoir or collects in a separate tray.
This method prevents the uneven watering common with hand care. Upper plants receive appropriate amounts while lower plants avoid underwatering. A well-designed system reduces spills and directs water toward root zones.
The reservoir still requires regular checking. Water evaporates, filters collect debris, and pumps lose efficiency over time. Treat irrigation equipment as part of the garden rather than something hidden and forgotten. A quick inspection each week prevents small blockages from creating dry patches across the wall.
Choosing Plants That Can Thrive
Plant selection requires careful attention. A beautiful wall becomes frustrating when plants require conditions the room cannot provide. Start by observing the space throughout the day. Notice direct sun, reflected light, cool drafts, heating vents, and areas that remain dim.
For a bright indoor wall, consider these plants:
- Pothos
- Heartleaf philodendron
- Spider plant
- Peperomia
- Prayer plant
- Ferns suited to stable indoor humidity
In sheltered outdoor spaces, choices include herbs, compact grasses, hardy ferns, and flowering plants suited to the local climate. A garden center can help match plants to the wall's light exposure, temperature changes, and irrigation pattern.
Avoid mixing plants with sharply different needs in the same watering zone. A drought-tolerant succulent and a moisture-loving fern may look attractive together yet will not thrive under the same schedule. Repeating a smaller group of compatible plants creates a calmer and healthier composition.
Designing for Natural Rhythm
A modular wall can appear formal or relaxed. Repeated rows, equal spacing, and a limited color palette create a polished appearance. Varied heights, trailing stems, and uneven clusters produce a more natural garden feeling.
Neither approach is automatically better. The right choice depends on surrounding architecture and preferred visual order. A clean wall beside a modern kitchen benefits from repeated foliage and simple containers. A timber fence or covered patio suits a looser planting style with different leaf shapes and gentle movement.
Repetition helps the wall feel intentional. Repeat a plant, container color, leaf shape, or accent tone at several points rather than placing each element only once. This approach does not make the design dull. It gives the eye a pattern to follow while allowing small differences to remain visible.
Consider the wall from several viewpoints. A display may look full when seen straight on but appear thin from the side. Trailing plants soften edges, while upright varieties provide structure. Leave enough space for growth, since crowded plants lose air circulation and become harder to inspect.
Placement and Installation Considerations
A living wall carries weight from its frame, planting medium, water, and mature plants. The supporting surface must handle the full load, not just the empty structure. Indoor installations also need protection from leaks. A waterproof backing panel, drip tray, or properly sealed base protects paint, flooring, and wall materials.
Place the reservoir where it remains accessible. Concealing every part of the system may create a cleaner appearance, but maintenance becomes difficult when the pump or filter cannot be reached. Good design keeps equipment discreet while remaining practical to service.
Electrical components require protection from splashing water, with cords arranged safely and outlets suited to the installation. Larger walls may benefit from professional design or installation, especially when they involve structural anchoring, plumbing, or extensive electrical work.
Caring for a Thriving Wall
Self-watering reduces routine effort, yet plants still need observation. Look for yellow leaves, wilted stems, algae, pests, or roots pressing through their modules. These signs often reveal problems before the entire display suffers.
A simple care routine includes these steps:
- Check the reservoir and irrigation lines each week
- Remove dead leaves and trim excessive growth
- Rotate or replace plants that receive uneven light
- Clean filters and pump parts as recommended
- Wipe dust from broad leaves
- Inspect the wall for moisture damage
- Fertilize lightly during active growth when appropriate
Pruning serves as a design tool. Trailing plants can be guided around neighboring sections, while vigorous varieties may need trimming to keep slower plants visible. Cut cleanly with sanitized tools, and remove crowded growth so air can move through the foliage.
Beginning with Confidence
The best modular green walls grow from careful experiments. Start with a small panel, choose plants with similar needs, and track how the space responds. Watch moisture levels, note which leaves reach toward the light, and pay attention to how the wall feels in daily use.
Maintaining Long-Term Success
Match plants to actual light and humidity conditions. Keep compatible plants in the same irrigation zones. Use repetition to connect the wall with nearby materials. Make the reservoir, pump, and filters easy to reach. Begin small, then expand after observing the results. Inspect the system regularly, even when plants appear healthy.
Regular attention to these details ensures the living wall continues to enhance the space for years to come.