Living Walls Fuse Indoor and Outdoor Spaces
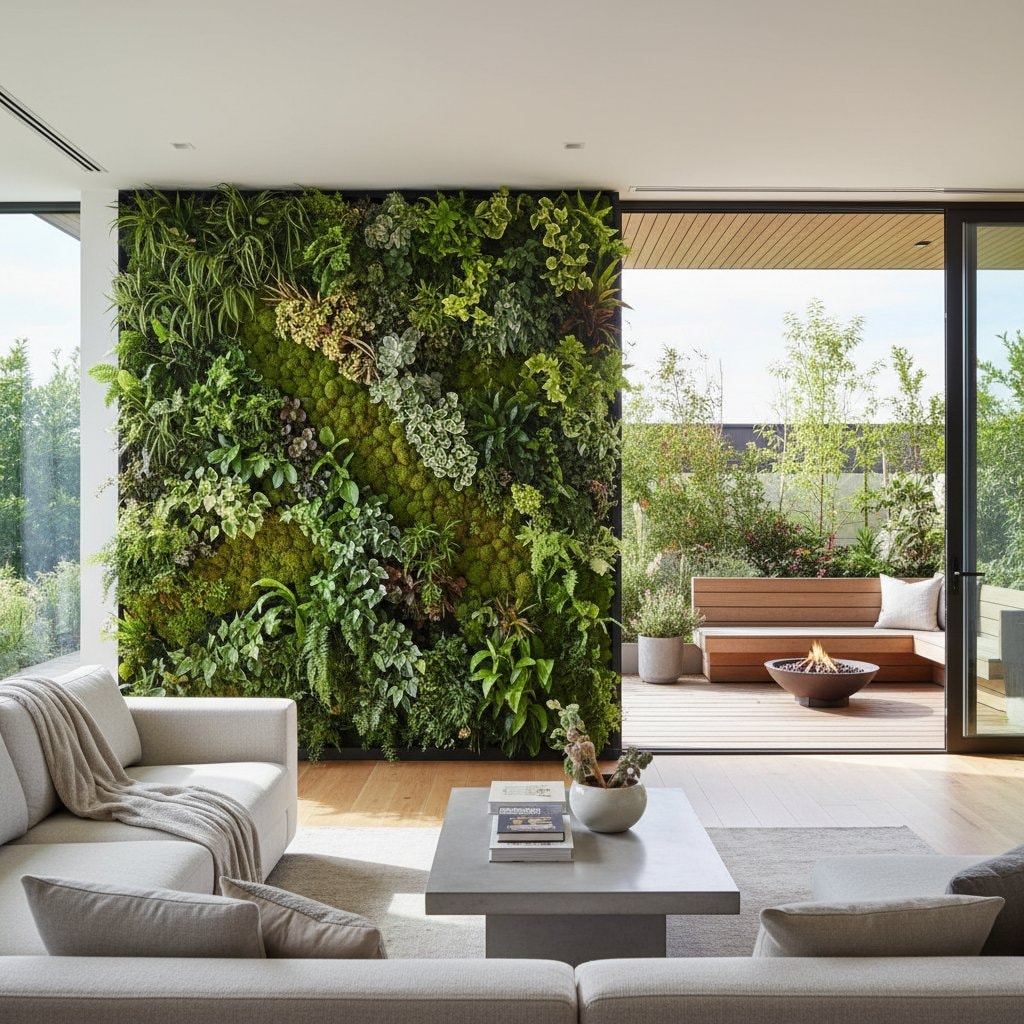
Many rooms feel complete yet lack vitality. Living walls address this by turning vertical surfaces into active plant systems that link indoor comfort with outdoor growth. They improve air quality and introduce natural textures without requiring floor space.
Homeowners in apartments and houses alike use these features to create visual continuity between rooms and gardens. The approach requires attention to light, structure, and plant needs from the start.
Assessing Your Space
Walk through each area and note walls that receive steady light or sit near windows and doors. Measure height and width, then check for nearby electrical outlets if irrigation components will be needed. These observations identify locations where a living wall can connect separate zones.
Test wall strength by pressing firmly along the surface. Add blocking or choose modular panels if the structure feels hollow. Record daily light levels with a simple meter or phone app to guide later plant choices.
Selecting a System Type
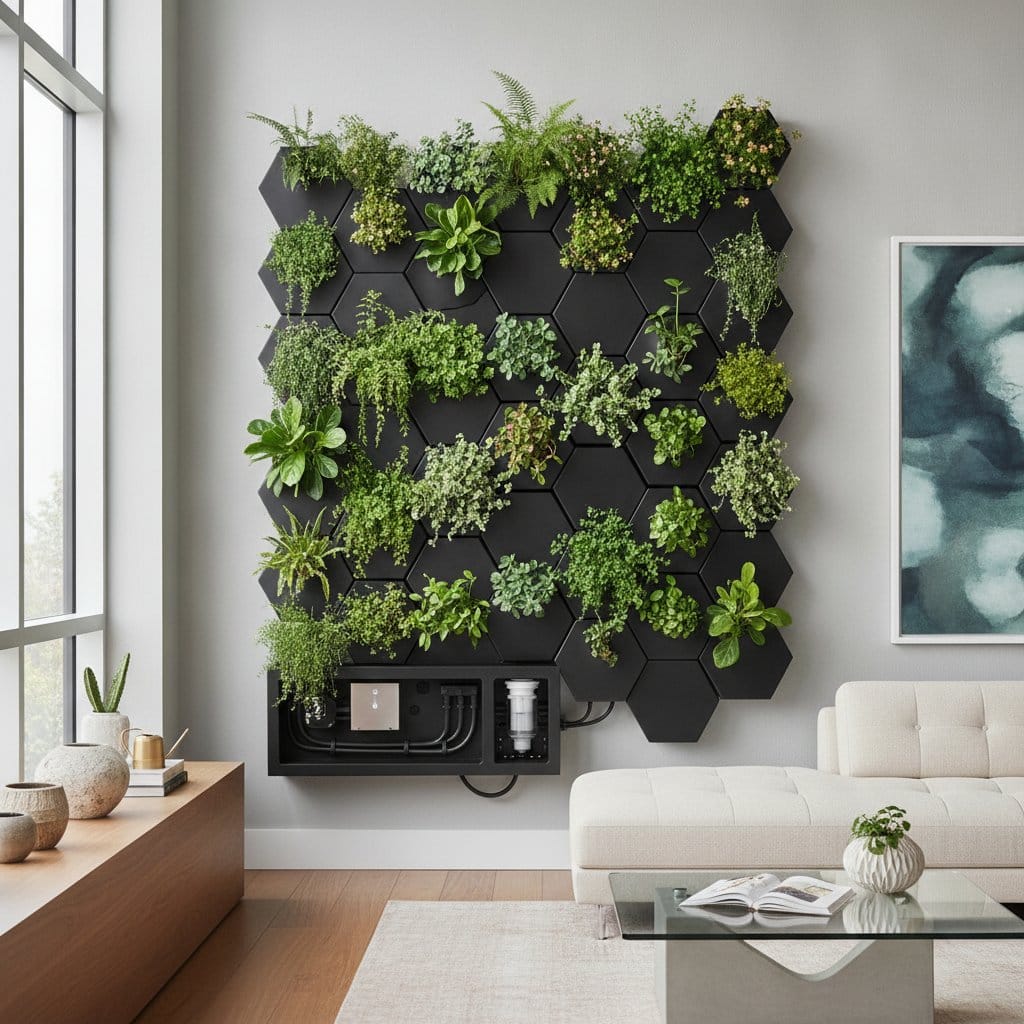
Soil-based systems use pockets filled with lightweight media. They support ferns, herbs, and flowering plants but require consistent moisture monitoring and drainage channels.
Hydroponic setups circulate nutrient solution through channels. They reduce weight and mess, suiting interior hallways or dining areas where cleanliness matters.
Moss art panels use preserved material mounted on rigid boards. They need no water or light yet supply texture and sound absorption for low-traffic zones.
Choosing Suitable Plants
Indoor selections should tolerate indirect light and average humidity. Pothos and philodendron trail gracefully while peace lilies and ferns add softness. Group plants with matching water needs in the same section.
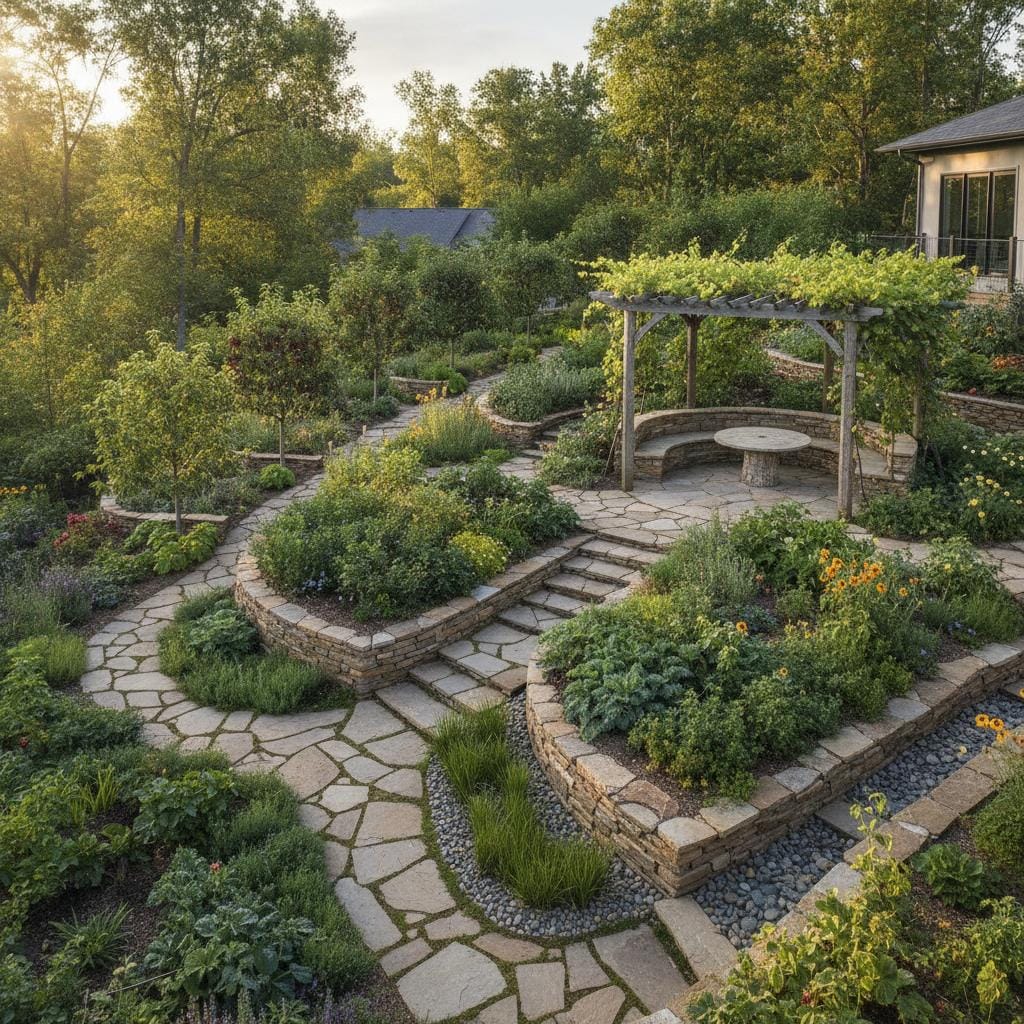
Outdoor walls accept succulents and ivy in sunny exposures. Heuchera and thyme perform well in partial shade. Arrange taller specimens at the base and trailing varieties higher to encourage even growth.
Preparing and Installing the Wall
Apply a waterproof membrane to interior surfaces before mounting frames. Secure brackets into studs and verify level alignment. Install irrigation lines or drip channels at this stage so water reaches every row.
Place plants starting at the bottom row. Firm soil or media around roots, then step back to check spacing and color balance. Adjust positions before final watering.
Ongoing Maintenance Steps
Check moisture daily for the first two weeks, then adjust to weekly checks once roots establish. Prune spent foliage monthly to maintain airflow. Apply diluted fertilizer every four weeks during spring and summer.
Inspect leaves for dust buildup indoors and wipe gently with a damp cloth. Replace struggling plants promptly with compatible substitutes. These routines keep the wall dense and healthy year-round.
Connecting Indoor and Outdoor Areas
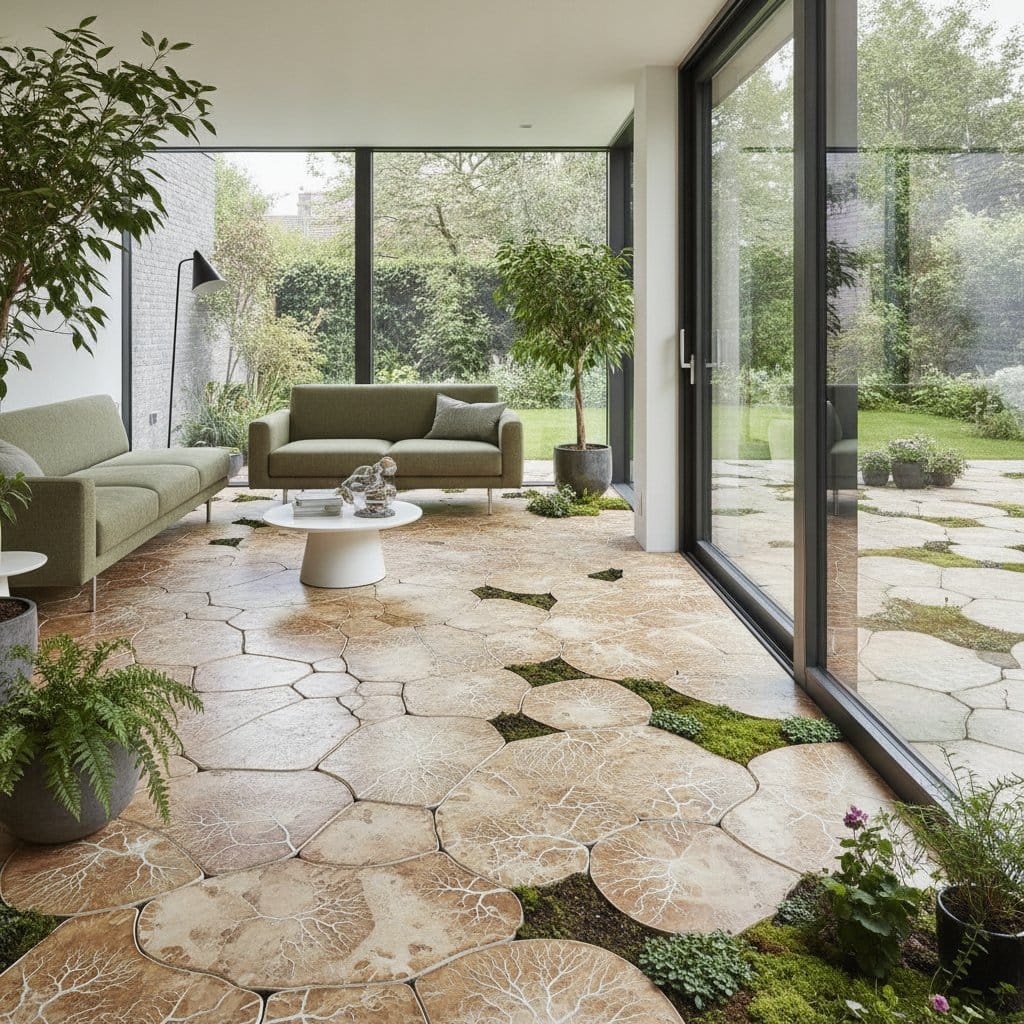
Position matching plant textures on both sides of a doorway to create flow. Use the same fern varieties inside and out, or repeat succulent colors along a patio edge. Warm LED strips aimed upward at night extend the visual link after dark.
Health and Well-Being Effects
The added greenery reduces echo in hard-surfaced rooms and supplies steady oxygen. Residents often report calmer focus when seated near the wall during work or meals. Over months the feature becomes a living record of seasonal shifts and personal care routines.