Follow Dark Sky Standards to Reduce Outdoor Light Pollution
Outdoor lighting improves safety and creates an inviting atmosphere around a home. Excessive or poorly directed light, however, produces light pollution that wastes energy, disturbs wildlife, and obscures the night sky. Adopting Dark Sky standards addresses these issues while preserving useful illumination for daily needs.
Core Principles of Dark Sky Lighting
Dark Sky standards focus light where it serves a purpose, limit intensity, and favor warmer tones. The approach rests on four practical rules that any homeowner can apply.
- Install fully shielded fixtures so light travels downward only.
- Select the minimum brightness required for safety and visibility.
- Choose bulbs rated below 3000 Kelvin to produce softer, amber light.
- Add timers, dimmers, or motion sensors to restrict operating hours.
These measures reduce sky glow without sacrificing necessary nighttime function.
Effects of Light Pollution on Property and Surroundings
Light pollution extends beyond lost star views. Unshielded fixtures send light upward and sideways, increasing electricity use and raising monthly bills. Wildlife species that depend on natural darkness for migration or feeding become disoriented. Glare from overly bright sources can also reduce contrast and make pathways harder to navigate after dark.
Selecting Compliant Fixtures
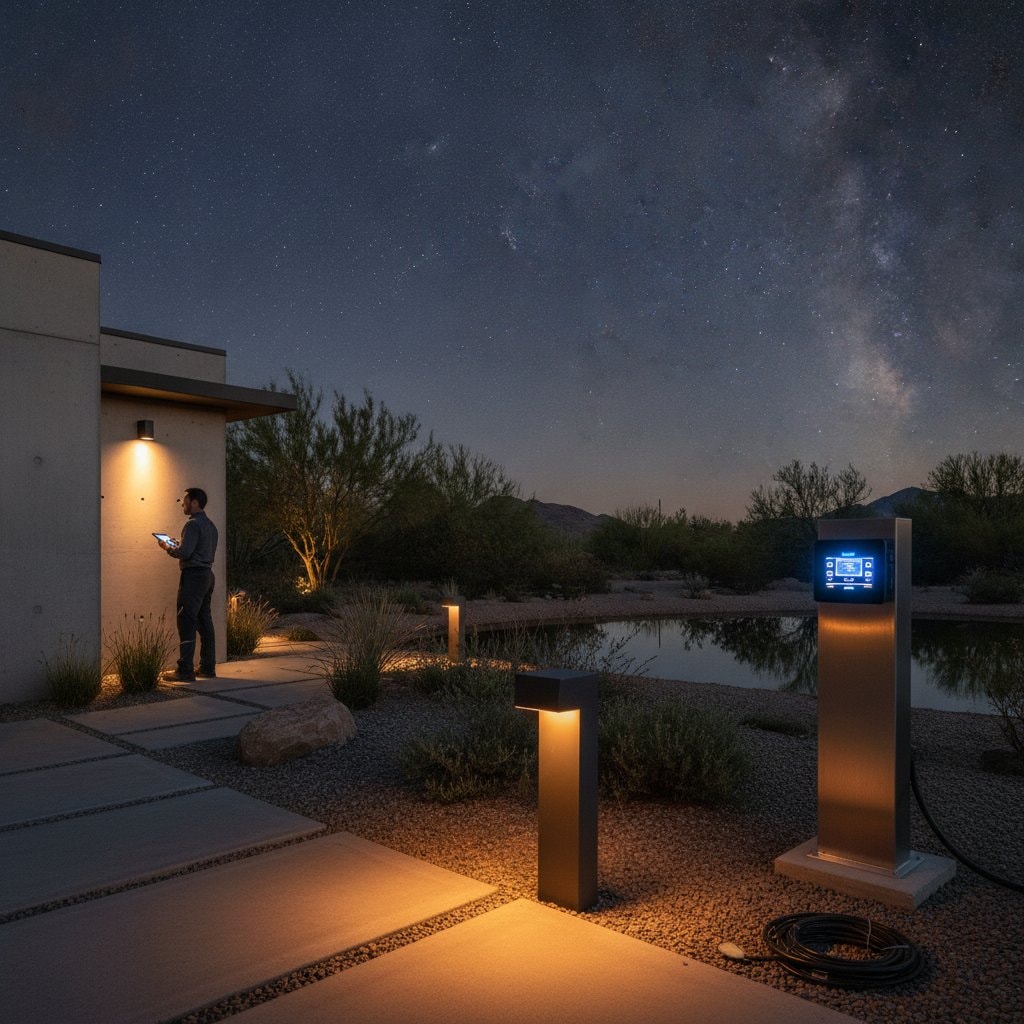
Fixtures labeled Dark Sky compliant direct light downward and limit glare. Homeowners can often adapt existing lights rather than replace entire systems. Full-cutoff wall packs suit entries and garages. Recessed soffit lights accent architecture while remaining hidden from the sky. Shielded path lights keep illumination low to the ground for safe passage.
Check product specifications for adjustable heads, motion sensors, and dimmer compatibility before purchase. These features provide ongoing control over light levels and duration.
Choosing Appropriate Bulbs
LED bulbs deliver the best combination of efficiency and longevity. Pair them with warm color temperatures between 2200 and 3000 Kelvin for reduced glare. Match lumen output to the task: 100 to 200 lumens suffice for path lights, while 400 to 800 lumens work well at main entrances. Confirm that selected LEDs respond smoothly to dimmers so output can be lowered after peak evening hours.
Designing an Effective Layout
Begin by walking the property after dark and marking locations that truly require light. Prioritize entries, steps, driveways, and seating areas. Position fixtures low and aim them away from windows and neighboring lots. Combine motion-activated security lights with low-voltage path lights and subtle accent fixtures to create layered illumination that avoids uniform brightness.
Managing Operating Times
Continuous overnight lighting wastes energy and interrupts natural cycles for both people and animals. Simple timers turn fixtures off at a set hour. Motion sensors activate lights only when movement occurs. Smart systems allow scheduling and dimming from a phone or voice assistant, giving precise control without daily effort.
Maintaining Security While Reducing Light
Properly directed light often improves visibility by eliminating harsh shadows. Aim fixtures at walking surfaces rather than flooding large areas. Use motion-activated units at vulnerable points instead of leaving lights on continuously. Warm color temperatures further reduce eye strain and preserve night vision.
Putting Dark Sky Principles Into Practice
Begin with existing fixtures by angling them downward and swapping in warmer bulbs. Add timers or sensors where possible. When expanding the system, select compliant models from the outset. These adjustments lower energy costs, lessen environmental impact, and restore a clearer view of the night sky over time.