Gravel Gardens: Effortless Modern Desert Beauty
Many homeowners face yards that demand excessive water and effort, leaving little room for enjoyment. A gravel garden addresses these challenges by introducing a simplified, drought-resistant alternative. This approach draws from desert landscapes to deliver open, serene spaces that require minimal intervention while providing visual interest through texture and form.
Gravel gardens suit various settings, from urban patios to expansive suburban lots. They emphasize sustainability by conserving water and reducing chemical use. With thoughtful design, such a garden becomes a focal point that enhances property value and personal well-being.
Envisioning a Simplified Landscape
Traditional gardens often rely on grass that guzzles resources, but gravel gardens shift focus to enduring elements. Gravel serves as a versatile base, reflecting sunlight to create dynamic patterns and highlighting plant silhouettes. This design philosophy prioritizes negative space, allowing each component to contribute to an overall sense of harmony.
Consider how gravel can unify disparate areas, such as connecting a seating nook to a pathway. It accommodates both contemporary minimalism and traditional adobe-style homes. By viewing gravel as an active participant in the composition, designers unlock creative potential for personalized outdoor environments.
Step One: Assess and Prepare the Site
Start by evaluating your yard's conditions to ensure success. Observe sunlight patterns throughout the day, noting full-sun areas ideal for sun-loving plants and shaded spots for more delicate varieties. Identify drainage issues, such as clay-heavy soil that retains moisture, and plan amendments like adding sand or organic matter to improve percolation.
Remove existing vegetation systematically: Dig out sod with a shovel or rent a sod cutter for larger areas, then apply a landscape fabric or cardboard layer to suppress weeds. Dispose of debris responsibly, composting healthy plant material where possible. This preparation phase sets a stable foundation, preventing future frustrations.
Step Two: Layer the Foundation
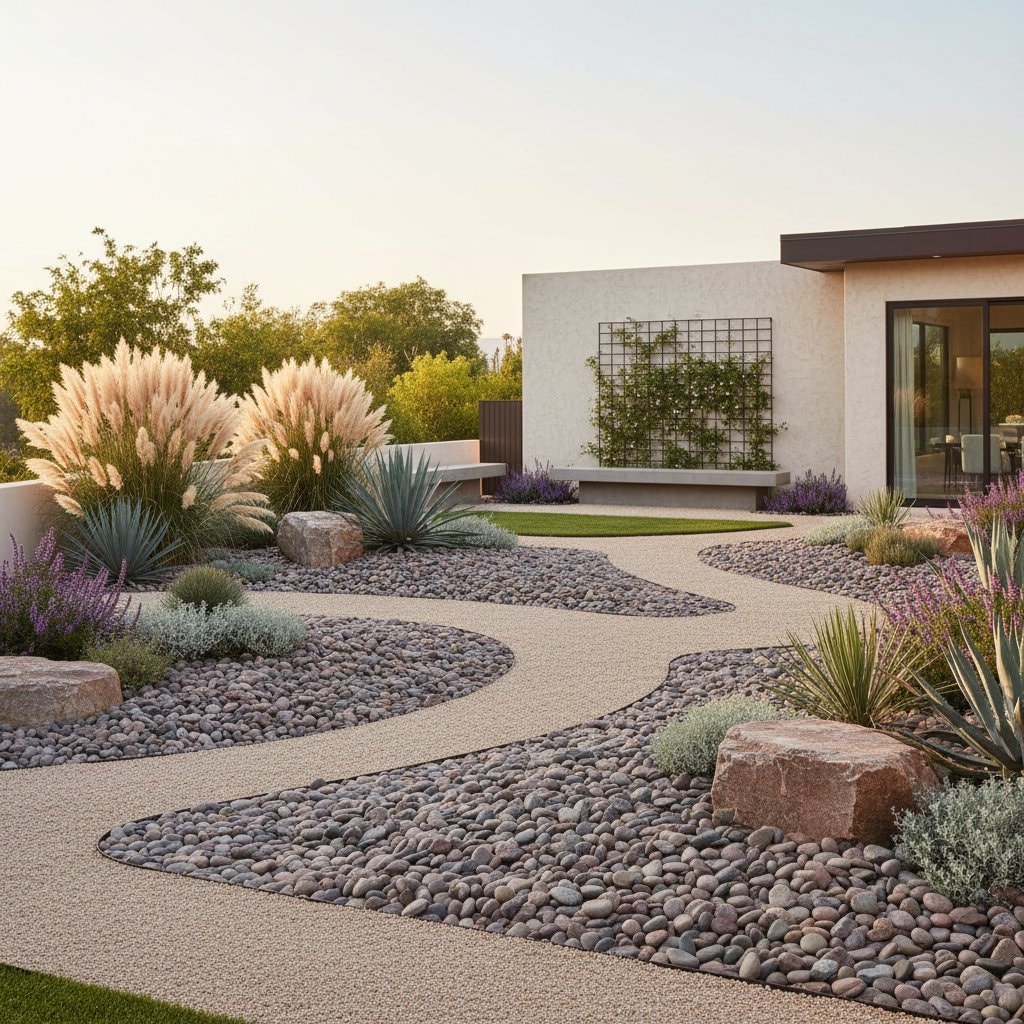
Effective gravel gardens build in layers for functionality and aesthetics. Begin with a 4- to 6-inch base of coarse angular gravel, such as 3/4-inch crushed rock, to promote drainage and stability. Compact this layer with a tamper to create a solid understructure that withstands foot traffic.
Top it with 2 to 3 inches of finer gravel, selecting types like decomposed granite in warm earth tones or pea gravel for a smoother texture. These choices complement native plants and enhance heat reflection. Integrate edging materials early, such as recycled plastic or corten steel, to define boundaries and contain the gravel.
Step Three: Select and Place Plants
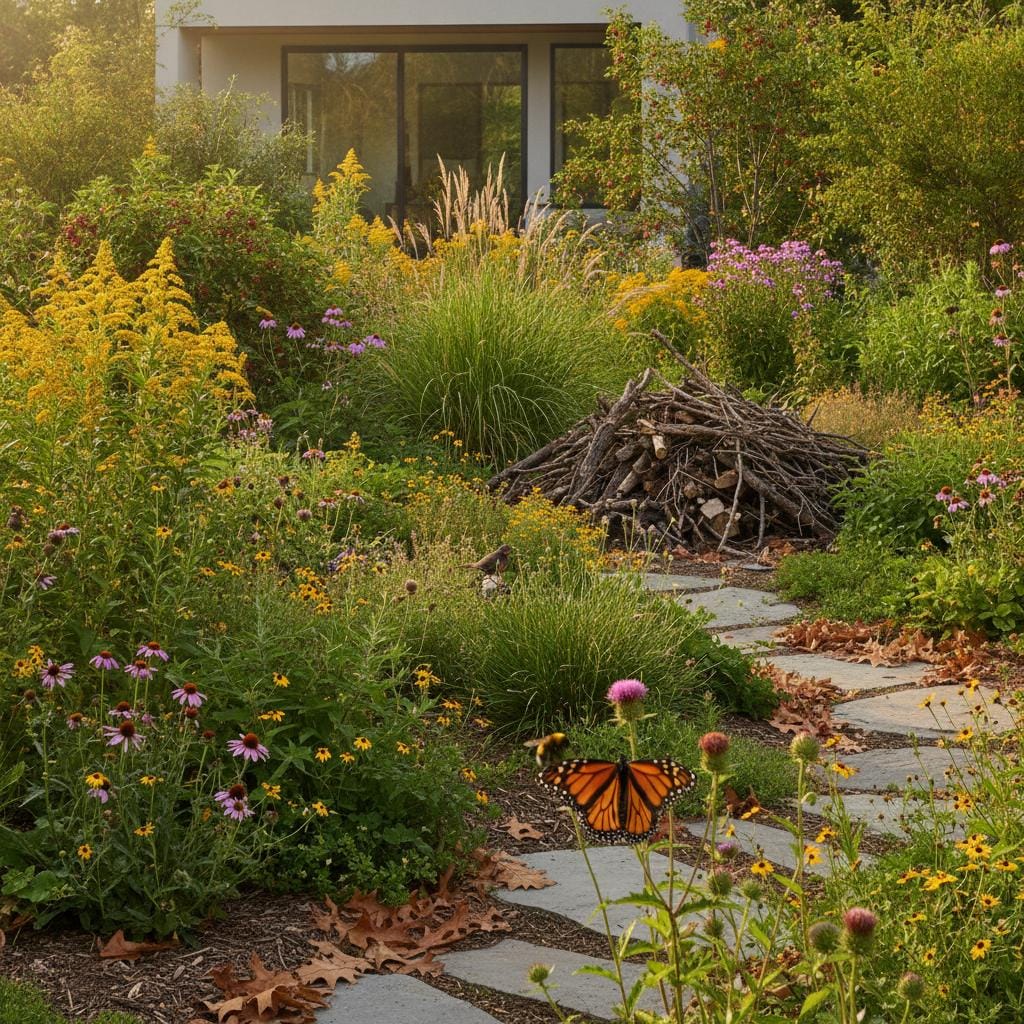
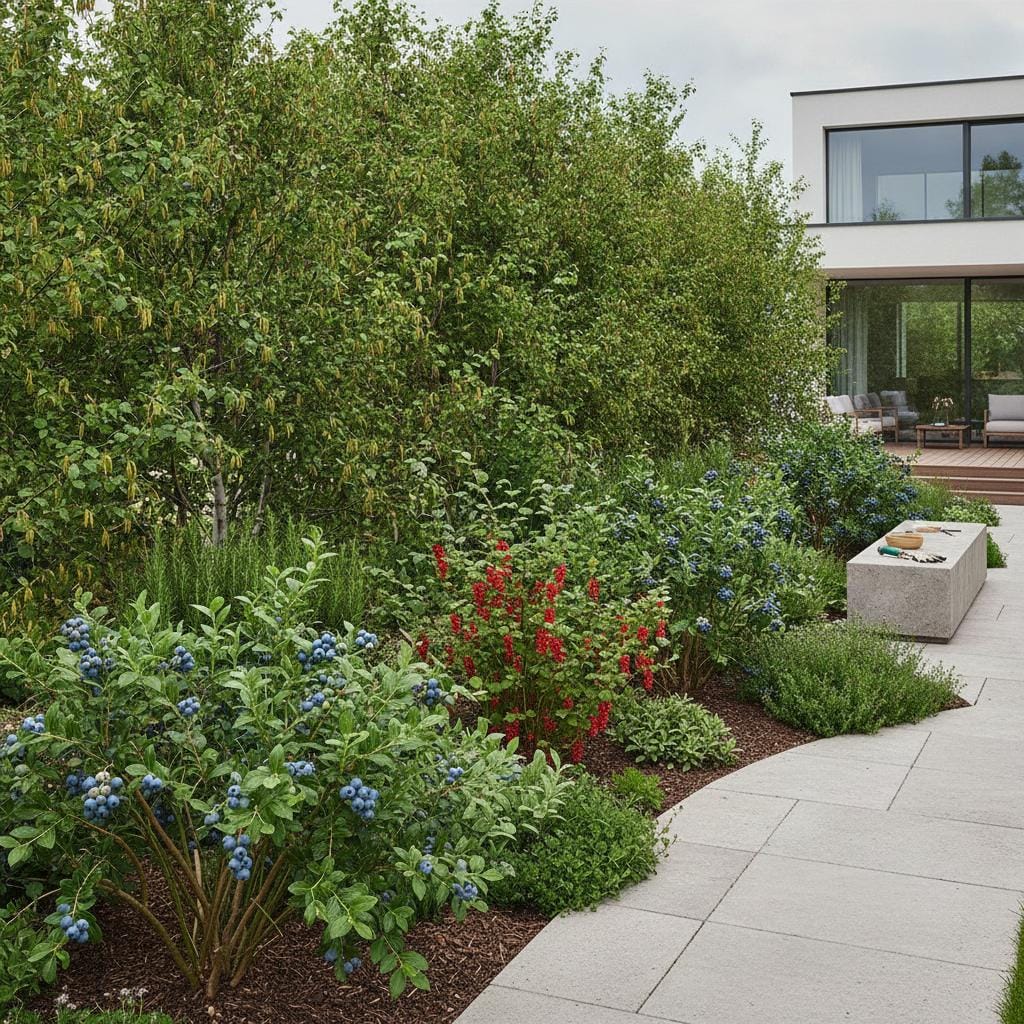
Choose plants adapted to arid conditions to minimize watering needs. Opt for succulents like agave and sedum, which store water in their leaves, or perennials such as Russian sage and blackfoot daisy that bloom reliably with little care. Ornamental grasses like blue fescue add movement, while shrubs likeApache plume provide structure.
Plant in clusters of three, five, or seven for a natural appearance, spacing them 18 to 36 inches apart based on mature size. Dig holes twice as wide as the root ball, mixing in gravel for better aeration. Mulch around bases with additional gravel to retain moisture and deter weeds, fostering a cohesive look.
Step Four: Shape and Refine the Design
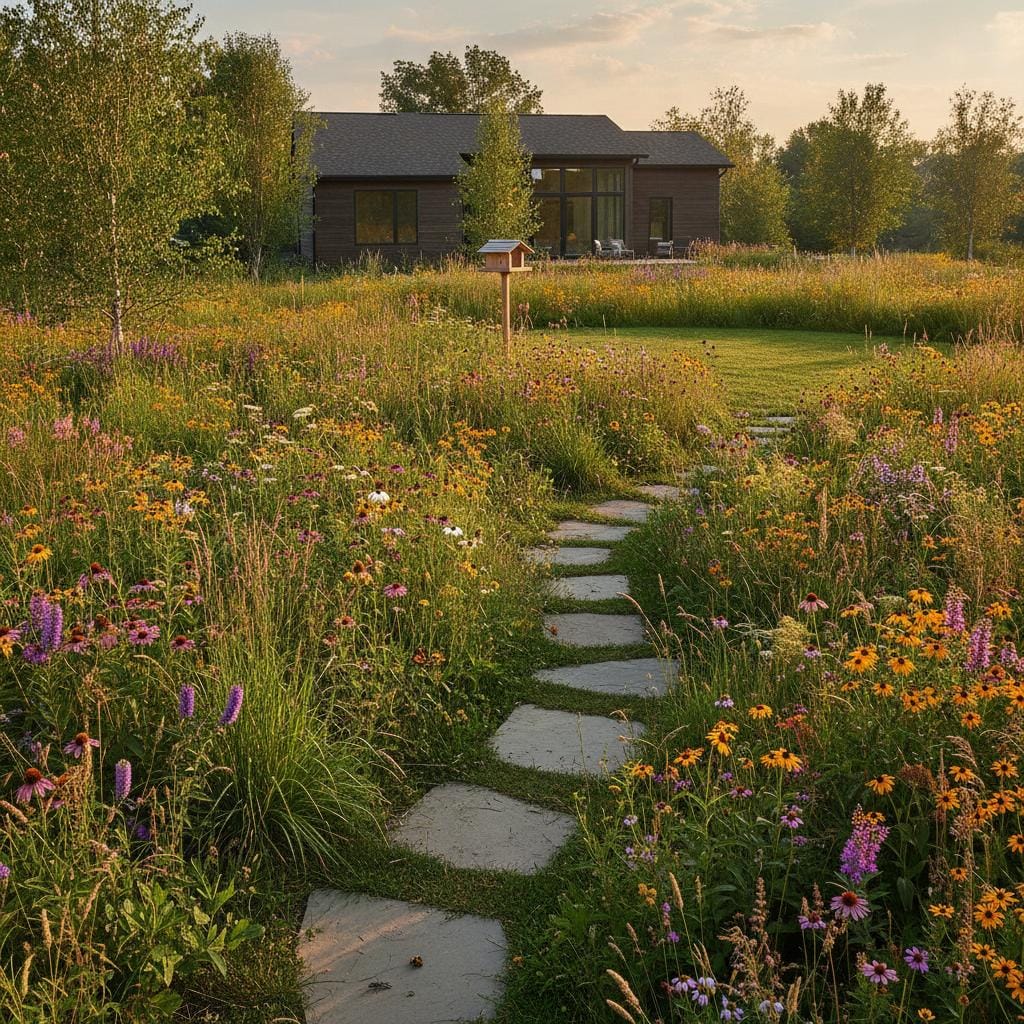
Incorporate hardscape elements to add depth and interest. Position boulders or flat stepping stones to guide movement and create seating areas, ensuring they align with the garden's scale. Design pathways with gentle curves using a garden hose as a template, then fill with gravel for a soft, inviting surface.
Introduce vertical interest through trellises supporting drought-tolerant vines like honeysuckle or clematis. Balance the composition by varying heights: low groundcovers at the front, mid-sized shrubs in the middle, and taller accents toward the back. Step back frequently during installation to assess balance and make adjustments.
Step Five: Establish and Maintain
Water deeply but infrequently during the first season to encourage deep roots, aiming for once a week until plants show new growth. Transition to natural rainfall thereafter, supplementing only during prolonged dry spells. Monitor for pests, using neem oil sprays for aphids on succulents rather than harsh chemicals.
Perform seasonal tasks to preserve vibrancy: Rake gravel in spring to remove leaves, prune dead foliage from perennials in fall, and divide overcrowded grasses every few years. These routines take under an hour monthly, allowing the garden to evolve with minimal effort. Over time, the space matures into a self-sustaining ecosystem.
Cultivating Lasting Serenity
A well-designed gravel garden rewards patience with seasonal shifts, from spring wildflowers to summer heat shimmer. It reduces environmental impact by cutting water use by up to 75 percent compared to lawns. Homeowners often report greater outdoor time, drawn to the meditative quality of its clean lines and subtle colors.
This landscape choice aligns with broader trends toward eco-friendly living, proving that restraint can yield profound beauty. As your gravel garden settles, it mirrors the resilience of natural arid ecosystems. Embrace this path to a yard that nurtures both the earth and your daily life.