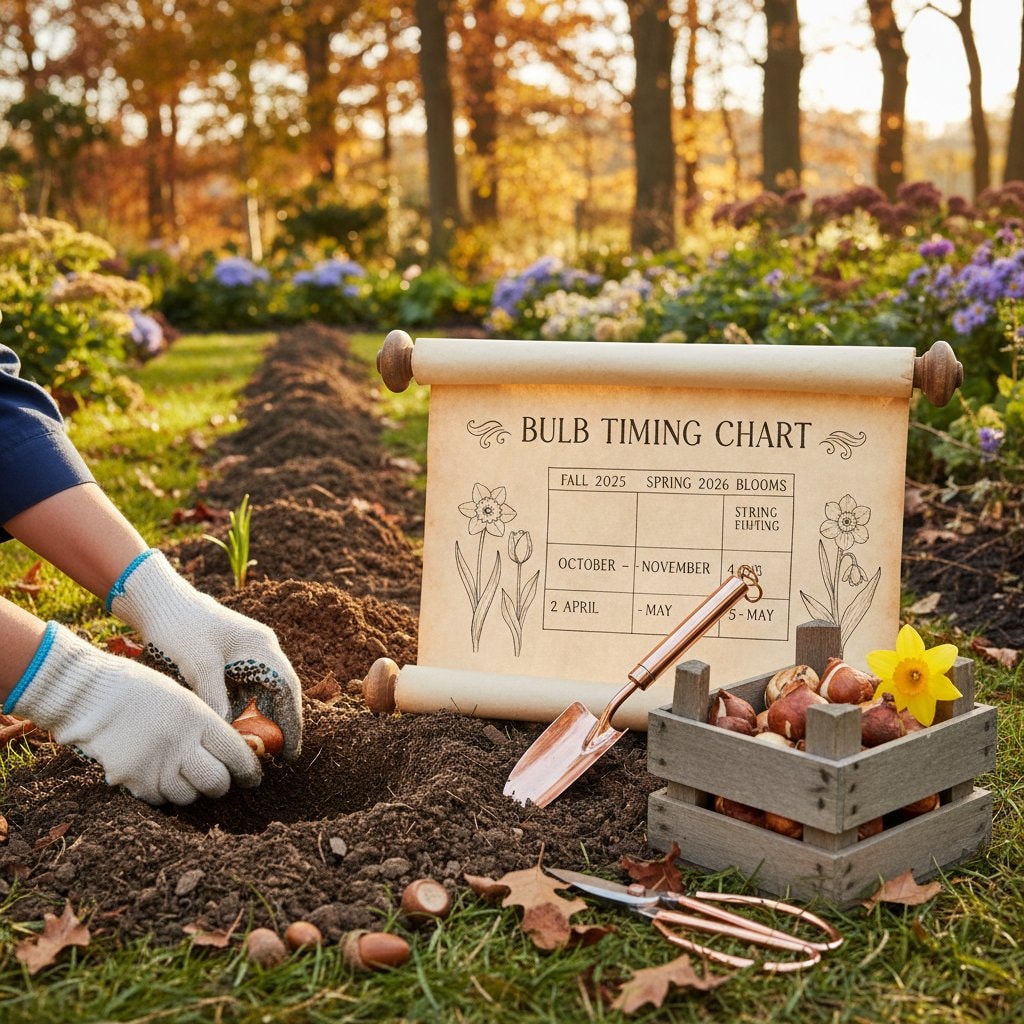
Optimal Fall Timing for 2026 Tulip and Daffodil Blooms
Early spring brings the reward of colorful blooms from bulbs planted the previous fall. Tulips display delicate petals in morning light, while daffodils offer sturdy clusters after winter. Proper fall planting allows roots to establish before freezing temperatures arrive, ensuring strong growth and full flowers.
This guide provides a step-by-step approach to planting bulbs this fall for a vibrant 2026 spring. Novice gardeners and experienced ones alike will gain practical strategies to achieve reliable results. Follow these instructions to build confidence in timing and preparation.
Identifying Seasonal Indicators for Planting
Rely on environmental cues rather than fixed dates to determine planting readiness. Shorter days, falling leaves, and cooling air signal the transition to fall. Test soil temperature by inserting a thermometer six inches deep; aim for 50 to 60 degrees Fahrenheit.
Feel the soil manually if tools are unavailable. It should register cool and moist without being frozen or dry. These observations align planting with natural cycles, promoting healthy root growth.
Designing an Effective Planting Layout
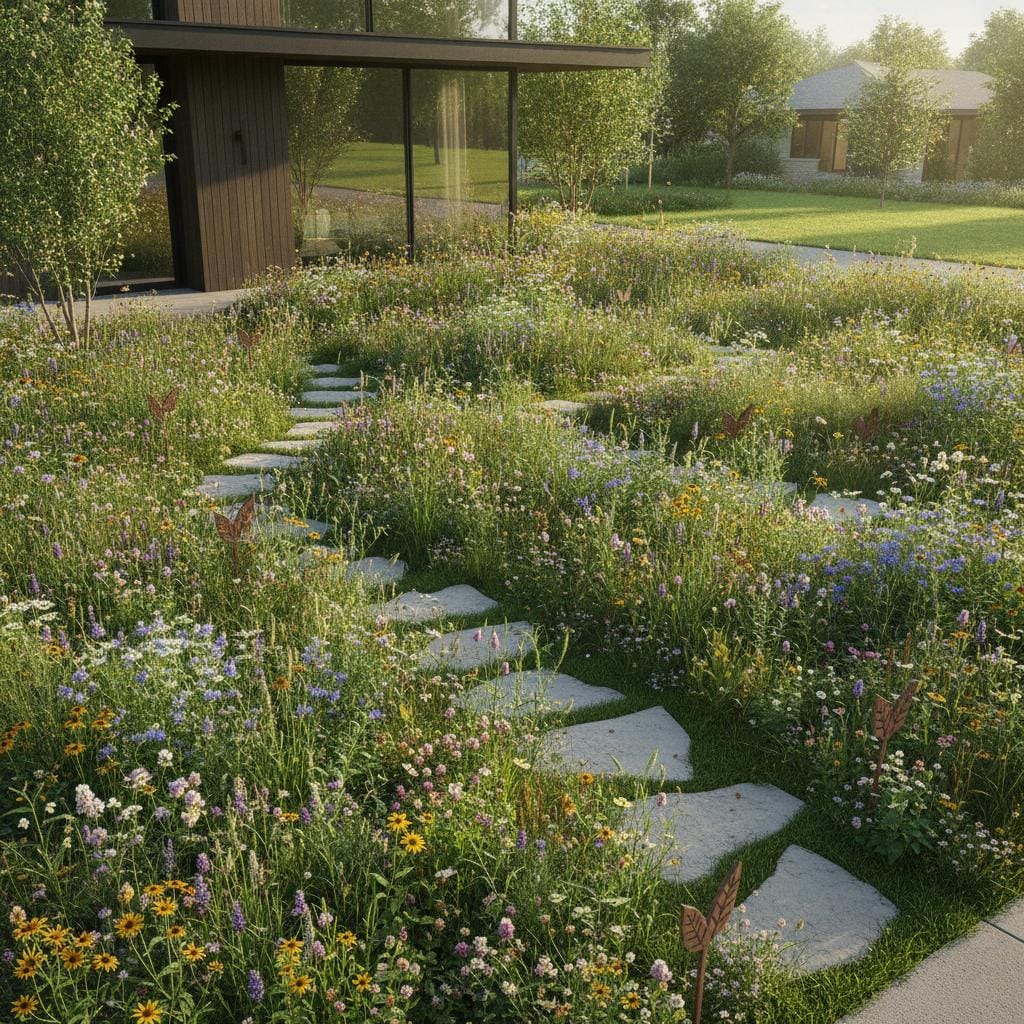
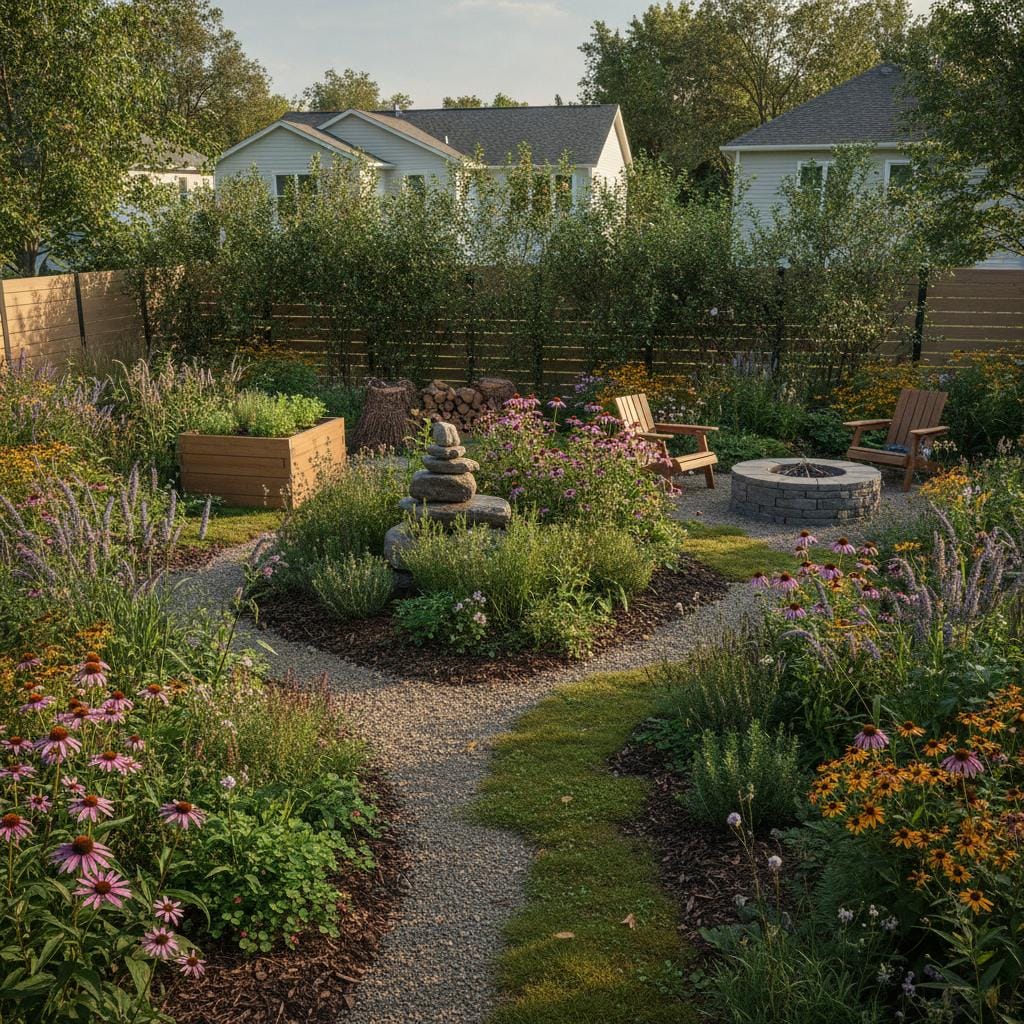
Visualize the spring garden before breaking ground. Opt for formal rows along paths or informal clusters mimicking wild growth. Sketch a simple plan on paper, noting bulb types, colors, and positions relative to structures or other plants.
Arrange bulbs on the soil surface to preview the design. Use groups of three, five, or seven for natural asymmetry. Adjust for scale: in large areas, space drifts 8 to 12 inches apart; in borders, tighten to 4 inches for denser impact.
Layer vertically by planting taller daffodils at the rear and shorter tulips forward. Incorporate companions like perennials to fill gaps post-bloom, enhancing overall garden harmony.
Amending Soil for Optimal Drainage and Nutrition
Bulbs flourish in loose, fertile soil that retains moisture yet drains excess water. Test drainage by digging a 12-inch hole, filling it with water, and timing refill; it should drain within two hours. Amend heavy soils with 2 to 3 inches of compost or sand per square foot.
Turn soil to 12 inches deep, removing rocks and weeds. Incorporate 1 to 2 inches of organic matter, such as well-rotted manure, to boost nutrient levels and structure. For clay soils, form mounds 6 to 8 inches high to elevate plantings above water saturation.
pH levels between 6.0 and 7.0 suit most bulbs; adjust acidic soils with lime if a test indicates need. These preparations ensure roots access air, water, and essentials without rot risk.
Achieving Proper Depth and Spacing for Stability
Plant bulbs at a depth three times their diameter, generally 6 to 8 inches for tulips and daffodils. This depth shields against frost heaves and foraging animals. Orient the pointed tip upward; if unclear, plant sideways, as shoots will correct direction.
Space tulips 4 to 5 inches apart and daffodils 5 to 6 inches to allow bulb expansion. In mass plantings, reduce to 3 inches for fuller effects. Backfill with soil in layers, pressing gently to eliminate voids, then water deeply to 6 inches.
This initial irrigation activates rooting hormones. Mark planting sites with stakes or labels to avoid disturbance during winter maintenance.
Safeguarding Bulbs Against Pests and Elements
Rodents often target fresh plantings; deter them by topping soil with 1-inch mesh hardware cloth secured at edges. Cover with 2 inches of mulch once established. Remove the barrier after ground freezes to prevent heaving.
Apply 2 to 3 inches of organic mulch, such as bark or straw, to moderate temperature fluctuations and retain moisture. In wet climates, ensure sites slope gently or use gravel bases in beds to channel runoff.
Monitor for fungal issues in humid areas; select resistant varieties and space adequately for air circulation. These measures minimize losses and support uniform emergence.
Documenting Planting Details for Future Reference
Record specifics to refine techniques over seasons. Use a journal or spreadsheet to note bulb varieties, quantities, locations, soil temperature, and weather on planting day. Include photos of the layout for visual recall.
Create a garden map highlighting beds and groupings. Track emergence dates and bloom performance the following spring. This data reveals patterns, such as ideal timing adjustments for your microclimate.
Review records annually to select performers and avoid underperformers. Such habits elevate gardening precision and success rates.
Post-Planting Maintenance Through Winter
Maintain even soil moisture until freeze-up, providing 1 inch of water weekly if rainfall is insufficient. Cease watering once soil solidifies to avoid ice damage. Bulbs require no further intervention during dormancy.
Avoid fall fertilizers, as they encourage weak top growth. Reserve applications for spring, using a 10-10-10 formula at 1 pound per 100 square feet when foliage emerges. Inspect mulch periodically to ensure coverage without compaction.
In mild winters, check for heaving; press displaced soil back gently. These practices preserve bulb health for robust spring performance.
Easing Bulbs into Spring Growth
Allow mulch to remain until shoots break through, typically 2 to 4 weeks after thaw. Remove it gradually over days to shield against frost. Water consistently at 1 inch per week during active growth.
Support stems in windy sites with discreet stakes if needed. Remove faded flowers promptly to redirect energy to bulbs, but retain foliage until it browns naturally, about 6 to 8 weeks post-bloom.
This aftercare maximizes energy storage for future seasons. Monitor for pests like aphids, treating with insecticidal soap if infestations occur.
Extending Bulb Performance Year After Year
Spring blooms validate fall efforts, transforming bare earth into a colorful spectacle. Tulips and daffodils reward patient preparation with reliable returns. Document successes to expand plantings confidently.
Post-bloom, replenish soil with compost to sustain fertility. Divide daffodil clumps every 3 to 5 years when flowering declines, replanting immediately. Replace tulips annually if vigor wanes, selecting fresh stock.
Integrate bulbs into broader landscapes for layered interest. Consistent care ensures enduring garden beauty and seasonal anticipation.