The Rise of Living Stone Walls in 2026 Garden Design
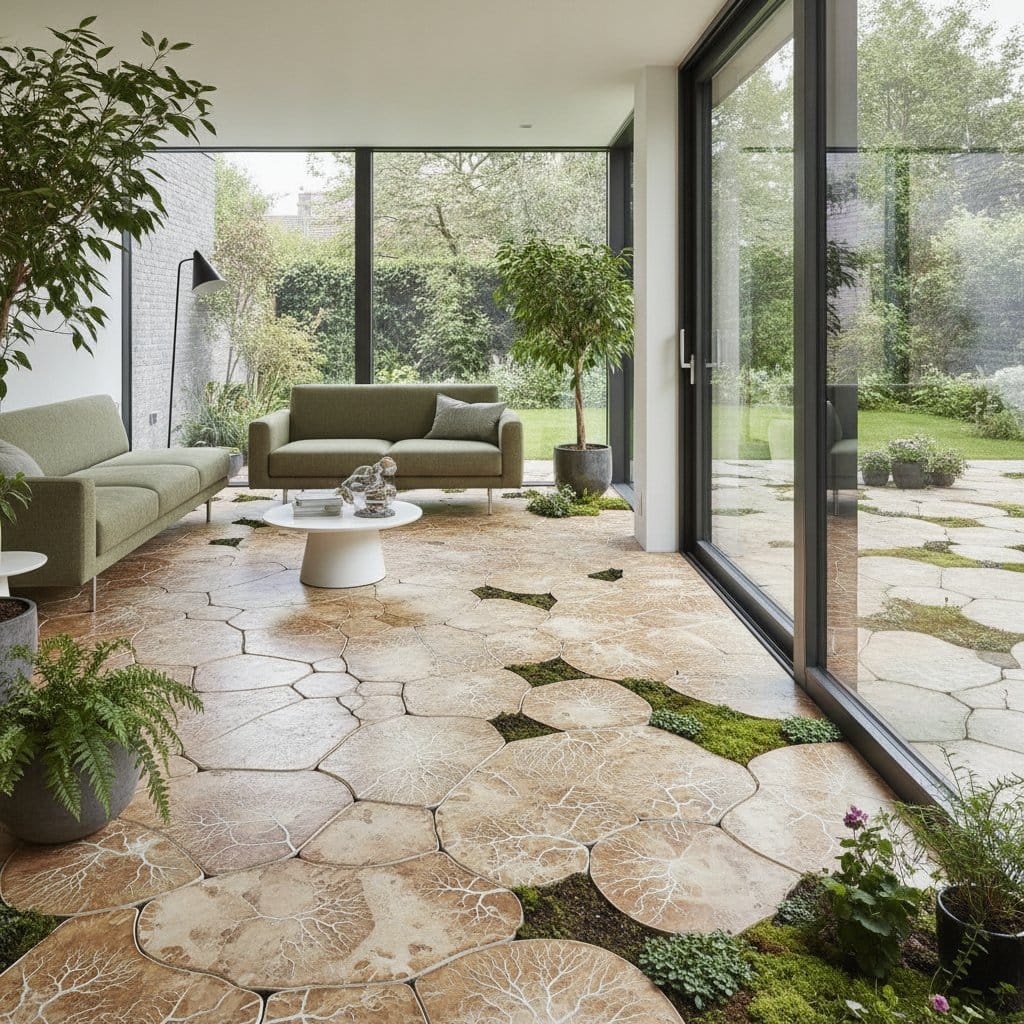
Many gardeners notice their outdoor areas lack vitality despite careful maintenance. Static stone walls provide structure but often feel disconnected from the surrounding landscape. Living stone walls address this by integrating plants directly into the masonry, fostering a seamless blend of permanence and organic movement that revives the entire space.
This trend aligns with biophilic principles, which emphasize human connection to nature through natural elements. The result is a feature that not only defines boundaries but also promotes mental well-being by introducing texture, color, and life. Homeowners find these walls transform routine yards into inviting, restorative environments.
What Defines a Living Stone Wall
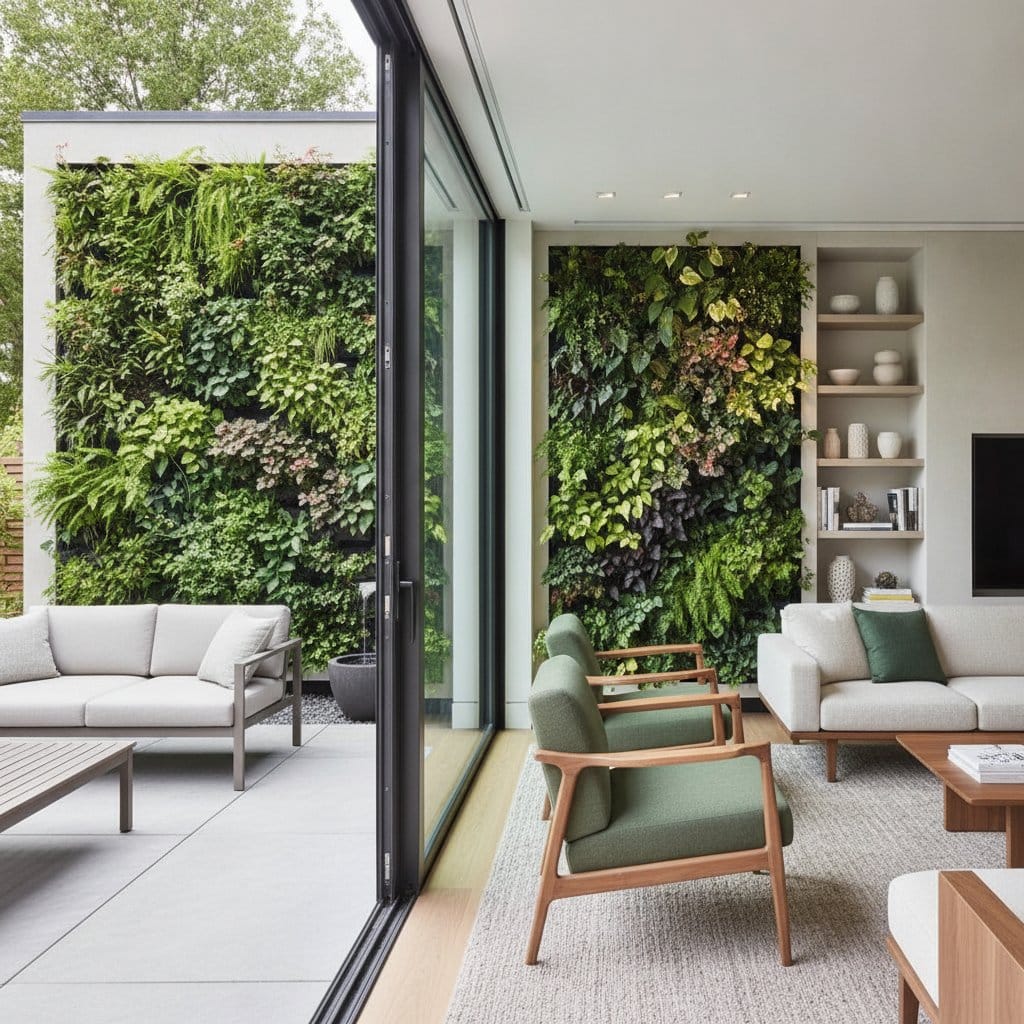
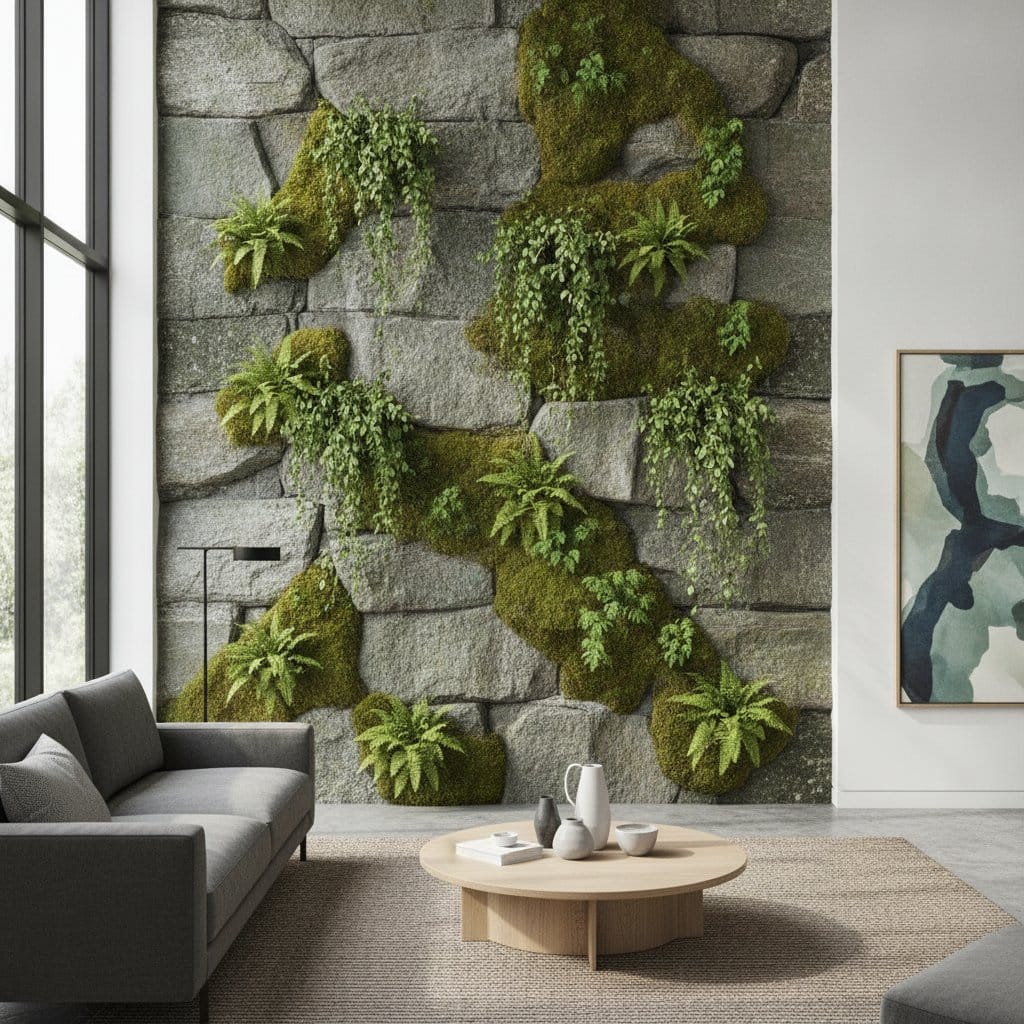
A living stone wall combines traditional hardscaping with integrated planting. Stones form the core structure, while crevices and pockets hold soil for vegetation such as moss, ferns, sedums, or creeping thymes. This creates a vertical ecosystem where the rigid stone contrasts with the fluid growth of plants, evoking both ancient ruins and contemporary artistry.
Biophilic design underpins this concept, using organic materials to reduce stress and enhance focus. In gardens, these walls serve multiple roles: they retain soil on slopes, screen views for privacy, or accentuate pathways. Select plants based on local climate; for instance, drought-tolerant succulents thrive in arid regions, while shade-loving hostas suit cooler, moist areas.
Evaluating Your Garden Site
Begin by surveying the proposed location for sunlight exposure, soil drainage, and foot traffic patterns. North-facing walls receive less direct light, ideal for moisture-retaining plants like ferns or mosses that prefer consistent humidity. South-facing spots demand sun-resistant species such as lavender or stonecrop to avoid scorching.
Determine the wall's primary role: does it need to support weight, like on a terraced slope, or merely enhance aesthetics? Measure the height and length to estimate material needs; a 4-foot-high wall by 10 feet long typically requires about 1 cubic yard of stone. Test soil pH in potential planting pockets, aiming for neutral levels between 6.0 and 7.0 to support diverse flora.
Designing for Longevity and Appeal
Draft a simple blueprint to visualize the layout, including stone placement and plant zones. Opt for dry-stack or mortared construction depending on stability needs; dry-stack allows easier root penetration for plants. Incorporate varying stone sizes—larger at the base for support, smaller on top for detail—to create natural contours.
Plan irrigation thoughtfully: install subtle drip lines behind the wall or rely on rainfall collection in built-in reservoirs. Mix planting medium with 50 percent compost, 30 percent sand, and 20 percent perlite to ensure aeration and nutrient retention. Consider seasonal interest by layering evergreens like ivy with bloomers such as alyssum for year-round vibrancy.
Step-by-Step Construction Process
Prepare the site by excavating a trench 6 to 12 inches deep for the foundation, filling it with compacted gravel for drainage. Position the largest stones first, using a level to ensure even alignment; stagger joints like brickwork to prevent shifting. As layers rise, insert plastic mesh or hardware cloth in pockets to retain soil without blocking growth.
Once the framework stands firm, fill crevices with your prepared soil mix and plant immediately. For a sunny wall, insert sedum plugs spaced 4 inches apart; in shaded areas, press moss sheets into damp pockets and mist regularly. Tamp soil gently around roots, then water thoroughly to settle everything. Allow two weeks for initial rooting before adding mulch to conserve moisture.
Maintenance Practices for Sustained Vitality
Established walls require minimal intervention, but inspect quarterly for stability and plant health. Prune vining plants like honeysuckle to 6 inches beyond the stone edge, preventing overhang that blocks light. Clear debris from crevices annually to deter pests; apply a diluted neem oil solution if aphids appear on tender shoots.
Address erosion by adding gravel at the base after storms and reseeding bare spots with compatible natives. In winter, cover sensitive plants with burlap to shield from frost heave. Rotate plant varieties every few years—introduce colorful creeping phlox in spring for pops of pink and purple—to keep the wall fresh and adaptive to changing garden needs.
The Enduring Impact of Your Living Wall
Over months, your wall shifts from constructed element to thriving habitat, with plants cascading and filling voids in unexpected ways. This evolution highlights nature's resilience, turning a simple divider into a focal point that draws wildlife like birds and pollinators. Ultimately, investing in a living stone wall enriches your garden's ecosystem, providing ongoing aesthetic and emotional rewards through its gentle, persistent growth.