Design Stargazing Gardens with Dark Sky Lighting Trends
A stargazing garden provides a dedicated space to relax as dusk falls. This setting encourages a deeper connection to the night's serenity and the celestial display overhead. Effective lighting forms the foundation of such an environment. Dark sky lighting principles emphasize minimizing glare and light pollution while ensuring the area remains secure and welcoming. By incorporating these elements, individuals can appreciate the stars without compromising aesthetic appeal or ease of use.
Why Dark Sky Lighting Matters
Excessive artificial illumination often obscures stars, disrupts local wildlife, and consumes unnecessary energy. Conventional outdoor lights frequently project beams upward or laterally, dispersing light into unintended zones. Dark sky lighting addresses these issues by channeling illumination downward and confining intensity to functional spaces.
This method bolsters environmental health, reduces energy expenditure, and clarifies nighttime vistas. Furthermore, it fosters a tranquil ambiance in the garden. The gentle radiance from strategically positioned lights generates a soothing environment rather than stark contrasts.
Planning Your Stargazing Garden
Begin the process by pinpointing areas for seating, traversal, and sky observation. The overall plan must integrate essential illumination for security alongside dimmer regions optimized for stargazing.
Follow these structured steps to develop the layout:
- Select the primary viewing area. Identify a spot offering unobstructed sky access, distant from intense sources such as streetlights or adjacent illuminated windows. A secluded yard corner or elevated platform typically proves effective.
- Outline pathways and resting zones. Employ low-profile, shielded lights to delineate routes without dominating the darkness. Position path illuminators at intervals of six to eight feet for adequate orientation.
- Incorporate layered illumination. Blend understated ground-level lights with delicate accents on foliage or structural elements. Maintain subdued intensity levels to safeguard natural night vision.
Understanding Fixture Types
Fixtures compliant with dark sky standards manage light dispersion and output precisely. When evaluating options, prioritize these attributes:
- Full cutoff designs that direct beams vertically downward, eliminating upward spill.
- Warm color temperatures at 2700K or below, yielding a mellow amber tone in place of stark white.
- Low-lumen sources delivering sufficient clarity for navigation without overwhelming adjacent areas.
- Integrated shields or hoods that prevent light from escaping the intended coverage.
Such specifications, though subtle, yield significant impacts. They sustain sufficient darkness for celestial viewing while upholding practical safety and usability.
Choosing the Right Materials
Exterior lighting endures variable climates and thermal shifts. Opt for constructions in aluminum, stainless steel, or powder-coated alloys to withstand corrosion and degradation. For an organic aesthetic, copper elements acquire a verdant patina that integrates seamlessly with landscaping.
Regarding electrical components, select moisture-resistant junctions and inter cables at a minimum depth of six inches to shield against water infiltration and physical harm. Solar variants offer simplicity and sustainability, although their output tends to be gentler compared to hardwired alternatives.
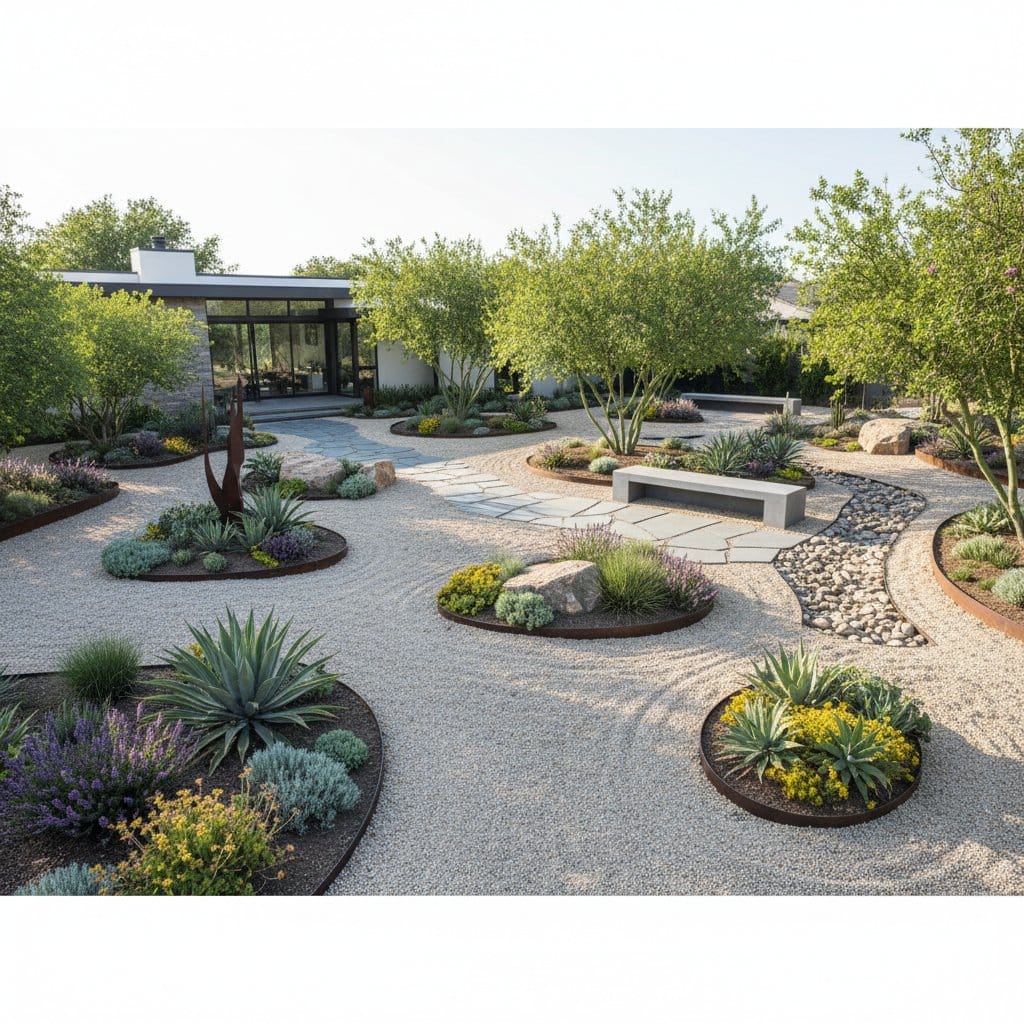
For surfaces in seating and transit areas, favor natural stone, gravel, or decomposed granite due to their low reflectivity. Steer clear of polished materials that redirect light skyward.
Costs and Installation
An entry-level dark sky system for a modest area begins around several hundred dollars, varying with fixture quantity and design intricacy. Comprehensive professional setups involving wired networks and zoned controls may escalate to thousands of dollars. Solar installations present budget-friendly and straightforward alternatives, albeit with periodic battery upkeep.
For wired configurations, consult municipal regulations or engage a certified electrician. Simpler arrangements, such as plug-in or solar models, allow placement by homeowners using basic equipment.
Creating Ambience with Soft Light
The stargazing garden demands an alluring yet restrained glow. The objective centers on facilitating navigation and accentuating highlights without saturating the space.
Implement these subdued techniques:
- Moonlighting effects. Secure a fixture elevated in a tree and angle it downward to simulate lunar radiance. Foliage diffuses the light, producing dynamic, wind-swayed shadows.
- Silhouetting applications. Position a base-level source behind sculptures, vegetation, or barriers to form faint contours.
- Pathway indicators. Deploy compact, enclosed lights bordering trails or risers to enable safe passage while preserving dark adaptation.
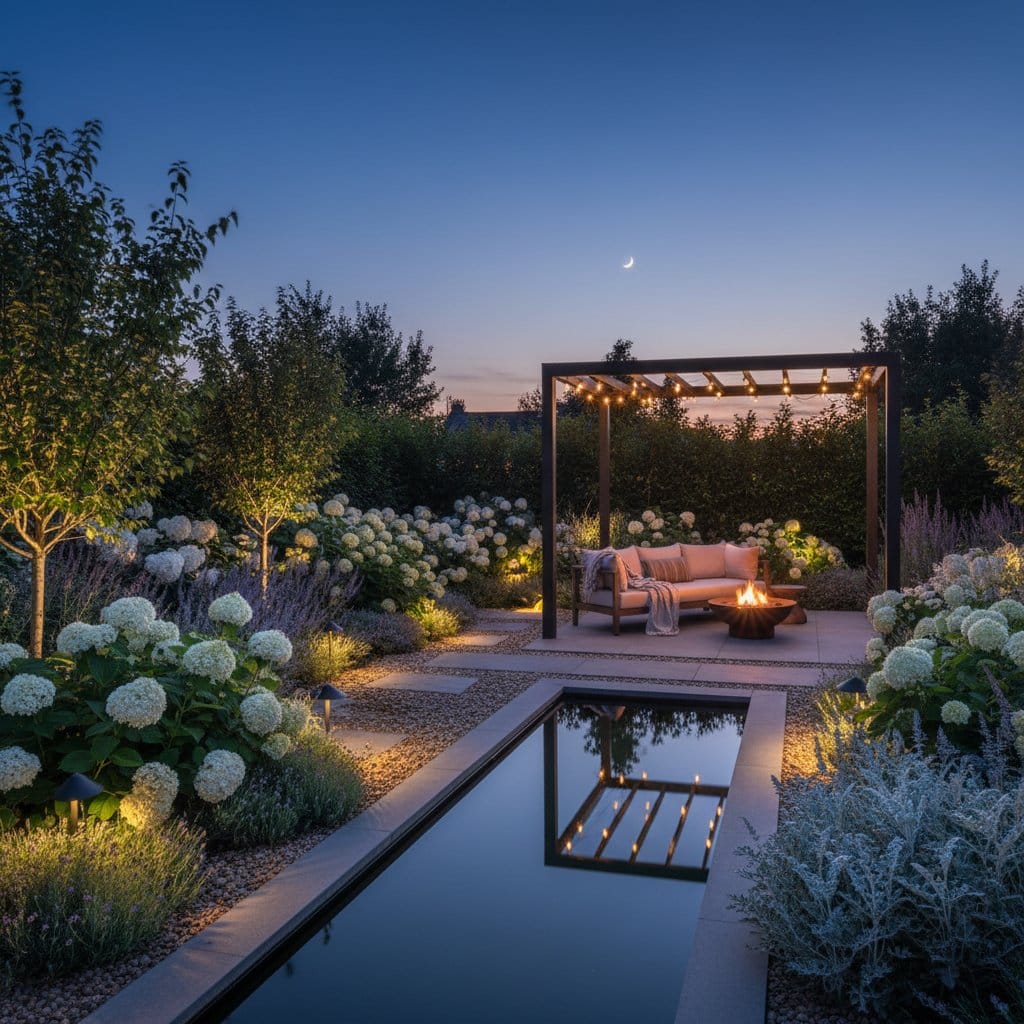
In gardens featuring ponds or fountains, introduce a dim, warm beam skimming the water. This generates rippling reflections that impart dimension and vitality minus reflective glare.
Protecting Wildlife and the Night Sky
Nocturnal species depend on obscurity for foraging and orientation. Overillumination disorients avian, insect, and mammalian populations. Dark sky compliant tools preserve these cycles. Integrate motion detectors or automated timers to curtail operational periods, thereby curbing consumption and ecological interference.
Eschew vivid blue or white emitters, which impair pollinators and influence vegetation cycles. Opt for warmer spectra that prove less intrusive and superior for evening observation.
Adding Comfort and Functionality
Beyond illumination, a stargazing garden requires thoughtful ergonomics. Incorporate durable furnishings such as stone seats, timber loungers, or retractable cushions resistant to elements. A compact side table accommodates beverages or observational aids like telescopes.
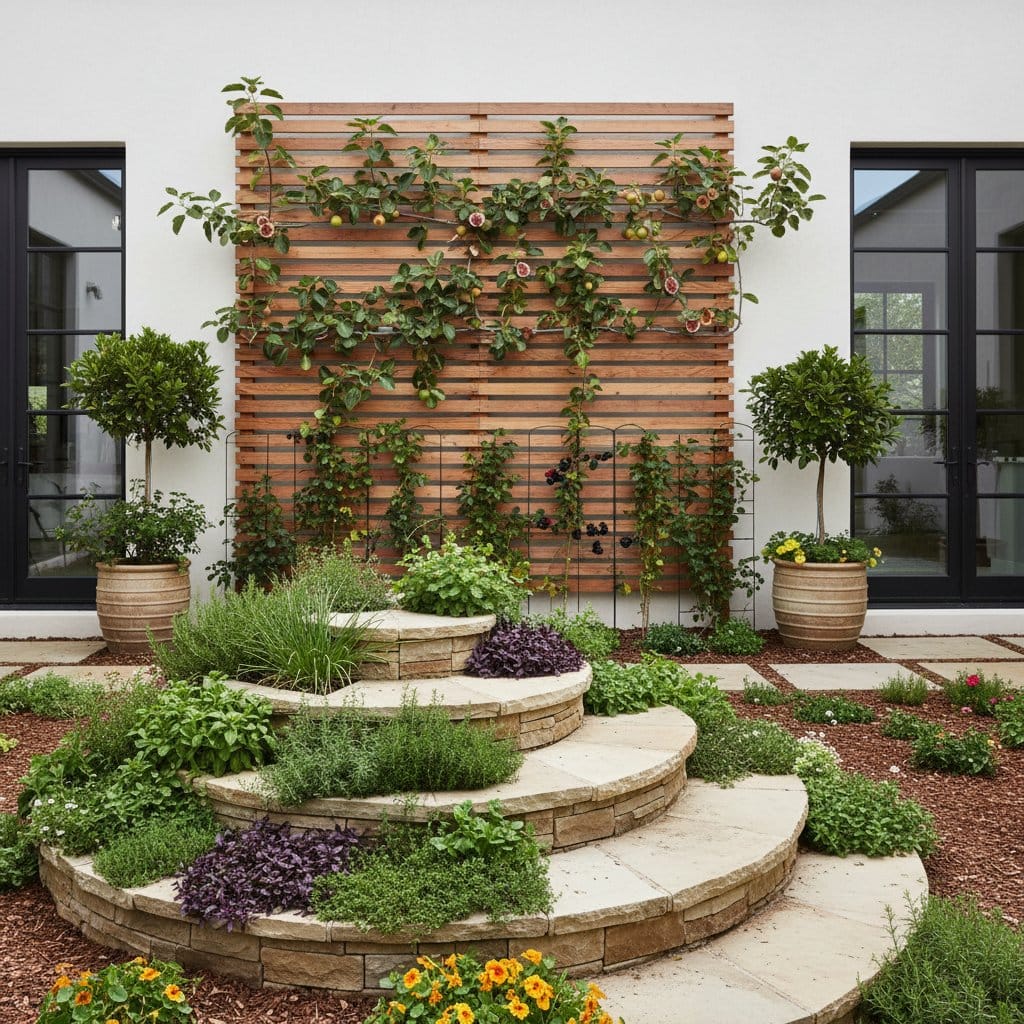
To address seclusion needs, install lofty perennials, vine supports, or open-weave panels that obscure external sights. These organic dividers also mitigate incoming glare from nearby properties.
For chillier evenings, integrate a modest fire feature or shielded lanterns with candles. Position open flames distant from electrical elements, greenery, and arboreal canopies to prioritize security.
Balancing Safety and Darkness
Celestial enjoyment necessitates vigilance toward hazards. Ensure visibility for inclines, borders, and level shifts through proximal, earthward-oriented lights. Refrain from intense spotlights or exposed globes that cast abrupt shadows.
Deploy sensor-triggered illumination at access points or perimeters for protection without continuous activation. Dimmers and schedulers afford precise regulation of intensity and runtime, adapting to varying atmospheres.
Implement Your Stargazing Design
Constructing a stargazing garden via dark sky lighting represents an enriching endeavor. This initiative restores post-sunset usability to outdoor realms while conserving nocturnal splendor. Initiate modestly by substituting glaring units with enclosed, amber-toned alternatives. Observe enhancements in both garden aesthetics and stellar clarity.
As the project grows, delineate illumination districts and evaluate zones incrementally prior to fixed commitments. Through deliberate planning and apt selections, the backyard evolves into a haven where constellations reclaim prominence.