Illuminate Your Yard While Preserving the Night Sky
Outdoor lighting enhances the beauty and functionality of your yard, but poor design can contribute to light pollution, dimming the stars overhead. Thoughtful choices allow you to create a welcoming space that prioritizes safety, energy efficiency, and environmental harmony. This guide outlines practical steps to achieve balanced illumination that respects the natural darkness.
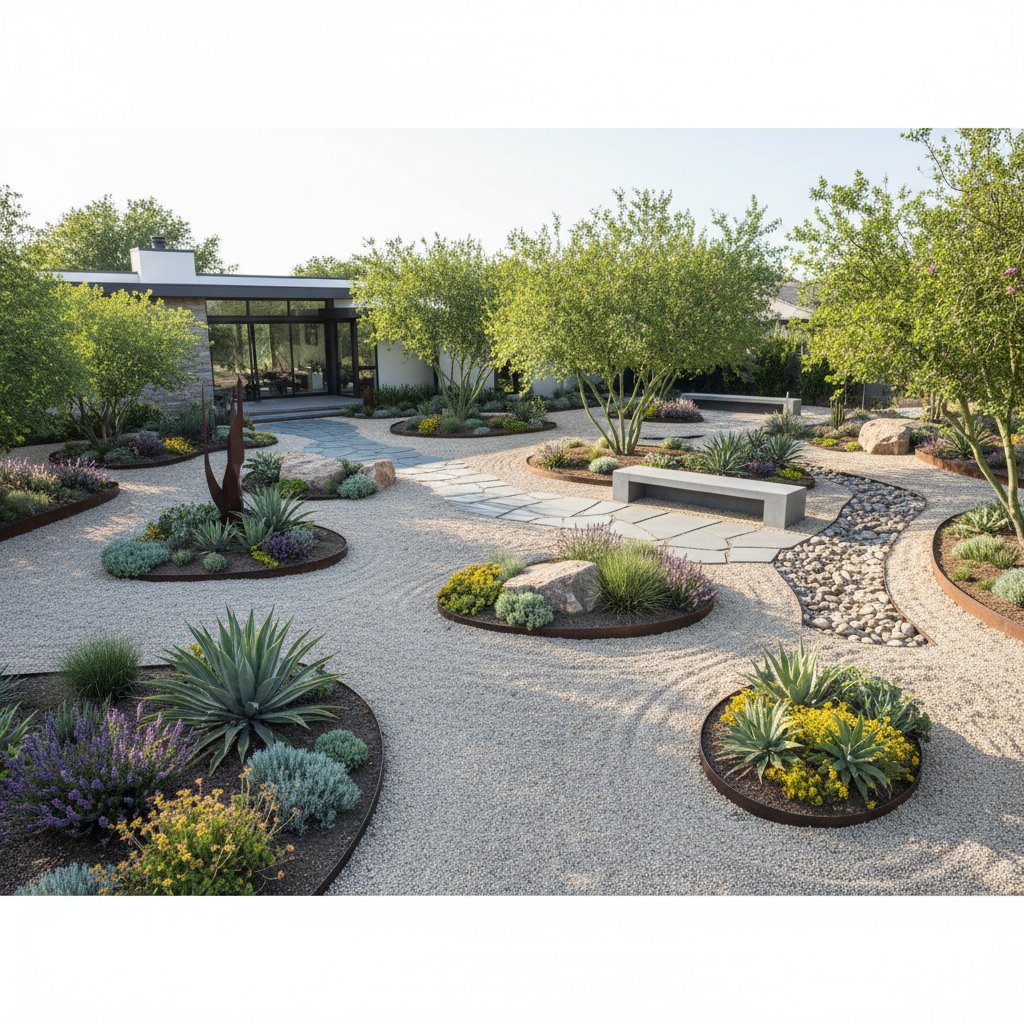
Step One: Assess Your Yard's Needs
Begin by evaluating how you use your outdoor spaces. Identify key areas such as pathways, seating zones, and garden beds that require light for navigation or ambiance. Consider the size of your yard and surrounding features like trees or fences that influence light distribution.
Sketch a simple layout to mark these zones. This plan helps you avoid overlighting unused areas and ensures every fixture serves a purpose. With a clear assessment, you direct light precisely where it adds value without excess spill.
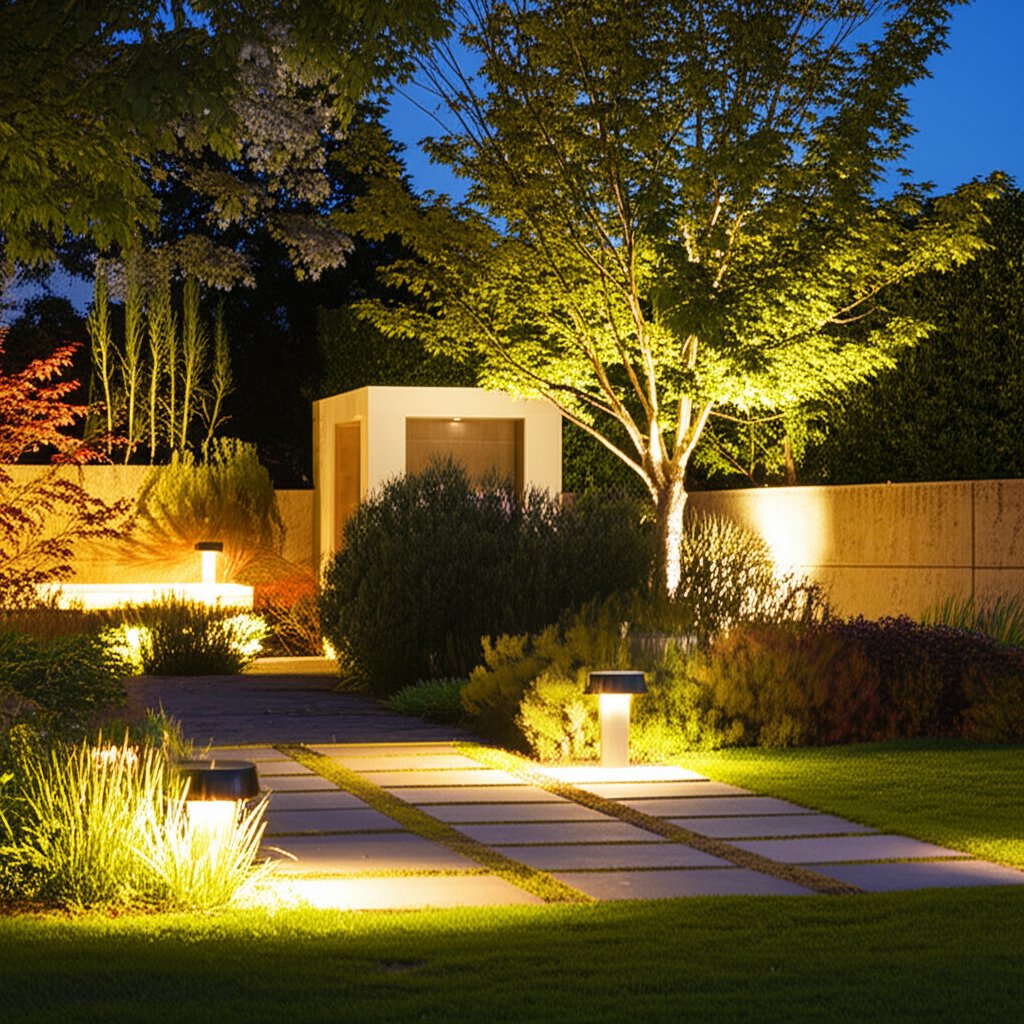
Step Two: Select Shielded Fixtures
Choose fixtures designed to direct light downward and shield it from escaping upward. Fully shielded options, such as bollards or wall-mounted lanterns, contain the beam within the intended area. These designs minimize upward glare that contributes to sky pollution.
Look for fixtures with opaque tops and cut-off angles that prevent light from tilting skyward. Materials like metal or durable plastic withstand weather while maintaining focus. Installing these creates defined pools of light that enhance rather than overwhelm the landscape.
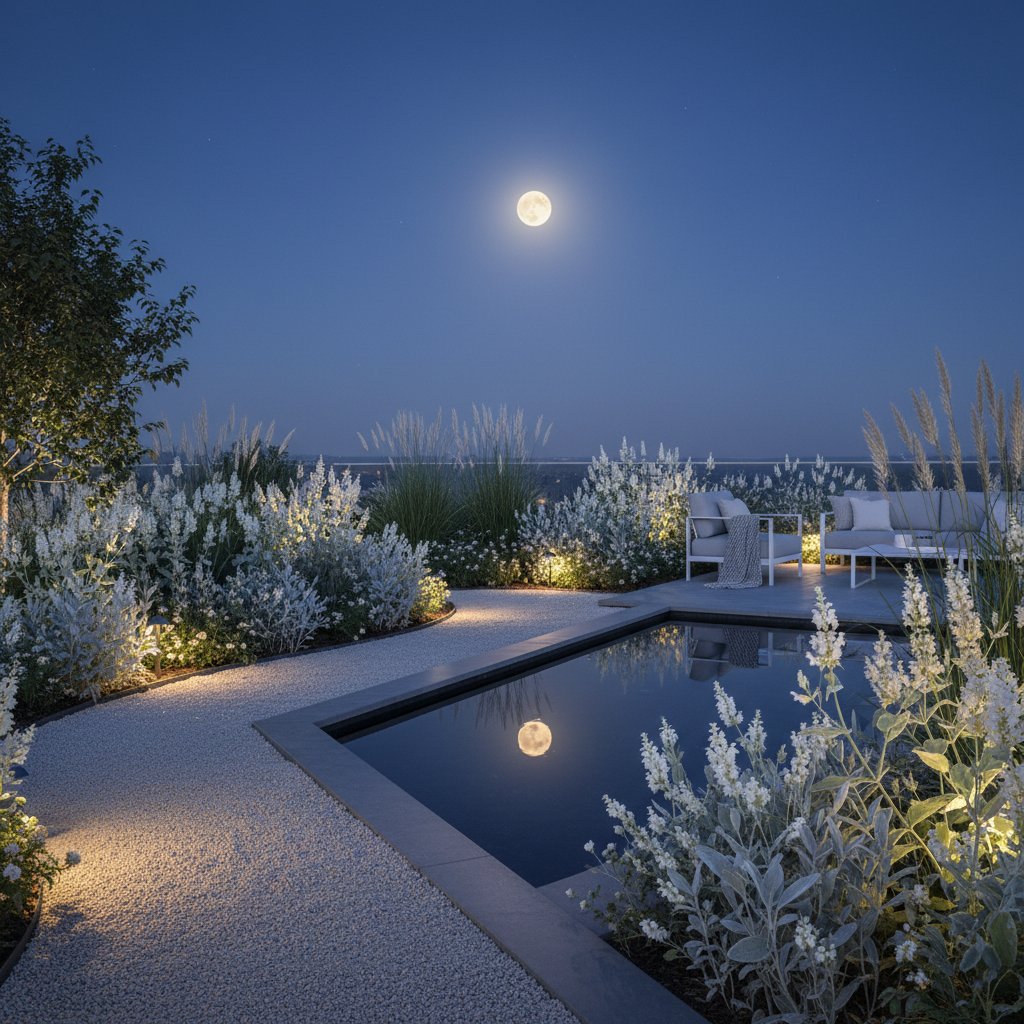
Step Three: Opt for Warm, Low-Intensity Bulbs
Select bulbs with warm color temperatures between 2700K and 3000K to produce a soft, inviting glow. These tones mimic natural sunset hues and reduce scattering in the atmosphere compared to cooler lights. Pair them with low lumen outputs, typically 200 to 800 lumens per fixture, to provide sufficient guidance without brightness overload.
For pathways and garden beds, low-lumen bulbs offer gentle direction that outlines features subtly. In seating areas, warm white bulbs create a cozy atmosphere that blends with surrounding foliage. Steer clear of cool-toned or blue-white lights, as they scatter more readily and disrupt nocturnal wildlife patterns.
Step Four: Position Lights Strategically
Place fixtures at ground level or along edges to keep light low and contained. Space pathway lights 4 to 6 feet apart to ensure even coverage without dark spots or overlaps. For borders, embed uplights sparingly to accent plants from below, directing beams away from the sky.
Integrate lighting with natural elements by tucking fixtures behind shrubs or along contours. This approach softens shadows and highlights textures in your landscape. Proper positioning maintains visibility for safety while preserving the dark backdrop above.
Step Five: Add Timers and Smart Controls
One effective method to curb light pollution involves automating lights to activate only when necessary. Timers shut off fixtures during late hours, while motion sensors trigger them briefly upon detection. These tools prevent constant illumination that wastes energy and brightens the night unnecessarily.
Integrate a central hub for remote management via smartphone or wall panel. Schedule routines that align with your habits, such as dimming after sunset or full off by midnight. This setup not only conserves resources but also fosters a tranquil environment that syncs with natural cycles.
When lights deactivate at appropriate times, your yard reverts to ambient darkness seamlessly. This pattern promotes relaxation and invites stargazing on clear evenings.
Step Six: Harmonize with Landscape Design
Blend lighting into your yard's overall aesthetic by selecting fixtures that complement existing styles. Use scale-appropriate sizes, such as compact path lights in small gardens or larger accents in expansive lawns. Coordinate colors and finishes with nearby structures for a cohesive look.
Incorporate natural diffusers like foliage to soften light edges. Plant low-growing perennials around bases to ground the fixtures visually. This integration ensures lighting enhances rather than competes with your garden's organic flow.
Step Seven: Maintain and Adjust Over Time
Regular upkeep preserves the effectiveness of your lighting system. Clean lenses and housings quarterly to remove dust or debris that diffuses light inefficiently. Inspect alignments, as shifting plants or soil can redirect beams unexpectedly.
Monitor brightness levels seasonally; summer foliage may require adjustments for optimal coverage. Test dimmer settings to fine-tune intensity based on usage. Upgrading to energy-efficient, dark-sky compliant bulbs during replacements boosts performance further.
Gradual tweaks lead to a refined setup that evolves with your yard. Consistent care sustains both functionality and the serene night view you aimed to protect.
Observe the Rewards in Your Outdoor Haven
Implementing these strategies transforms your yard into an inviting retreat that coexists with the night sky. Stars emerge more vividly, and subtle lighting accentuates garden details without intrusion. Wildlife activity often increases, with fireflies dancing and nocturnal sounds filling the air.
This mindful approach fosters a deeper connection to your environment. Your space becomes a sanctuary where beauty and tranquility prevail. Each adjustment reinforces the balance between human enjoyment and natural preservation, yielding evenings of genuine peace.